Step 1: Navigate to your Whatsapp Bot.Step 2: Click on WhatsApp Automation.Step 3: Select Templates.Step 4: You will get option to select pre-defined Templates. You can either select from chatflow template or message templates.
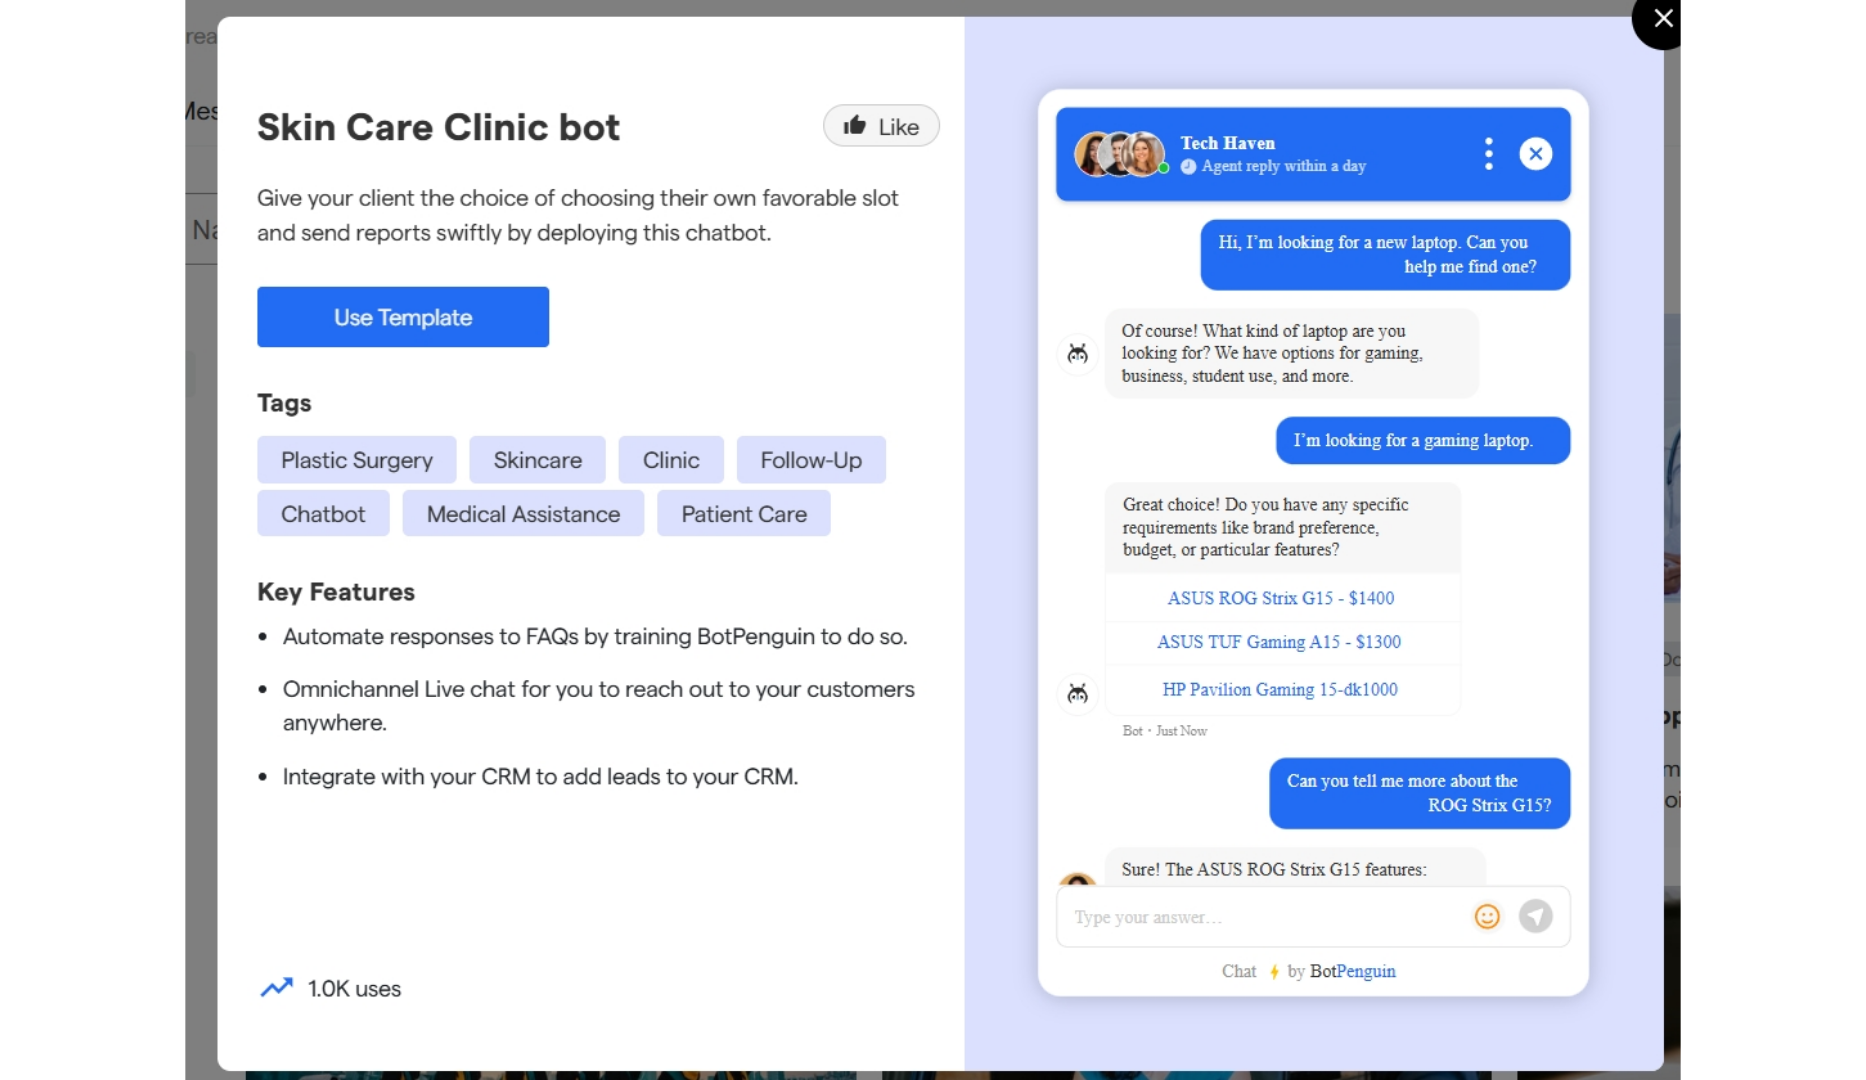
Step 5: When you hover your mouse on any of the template you will get option to take a preview or use template.
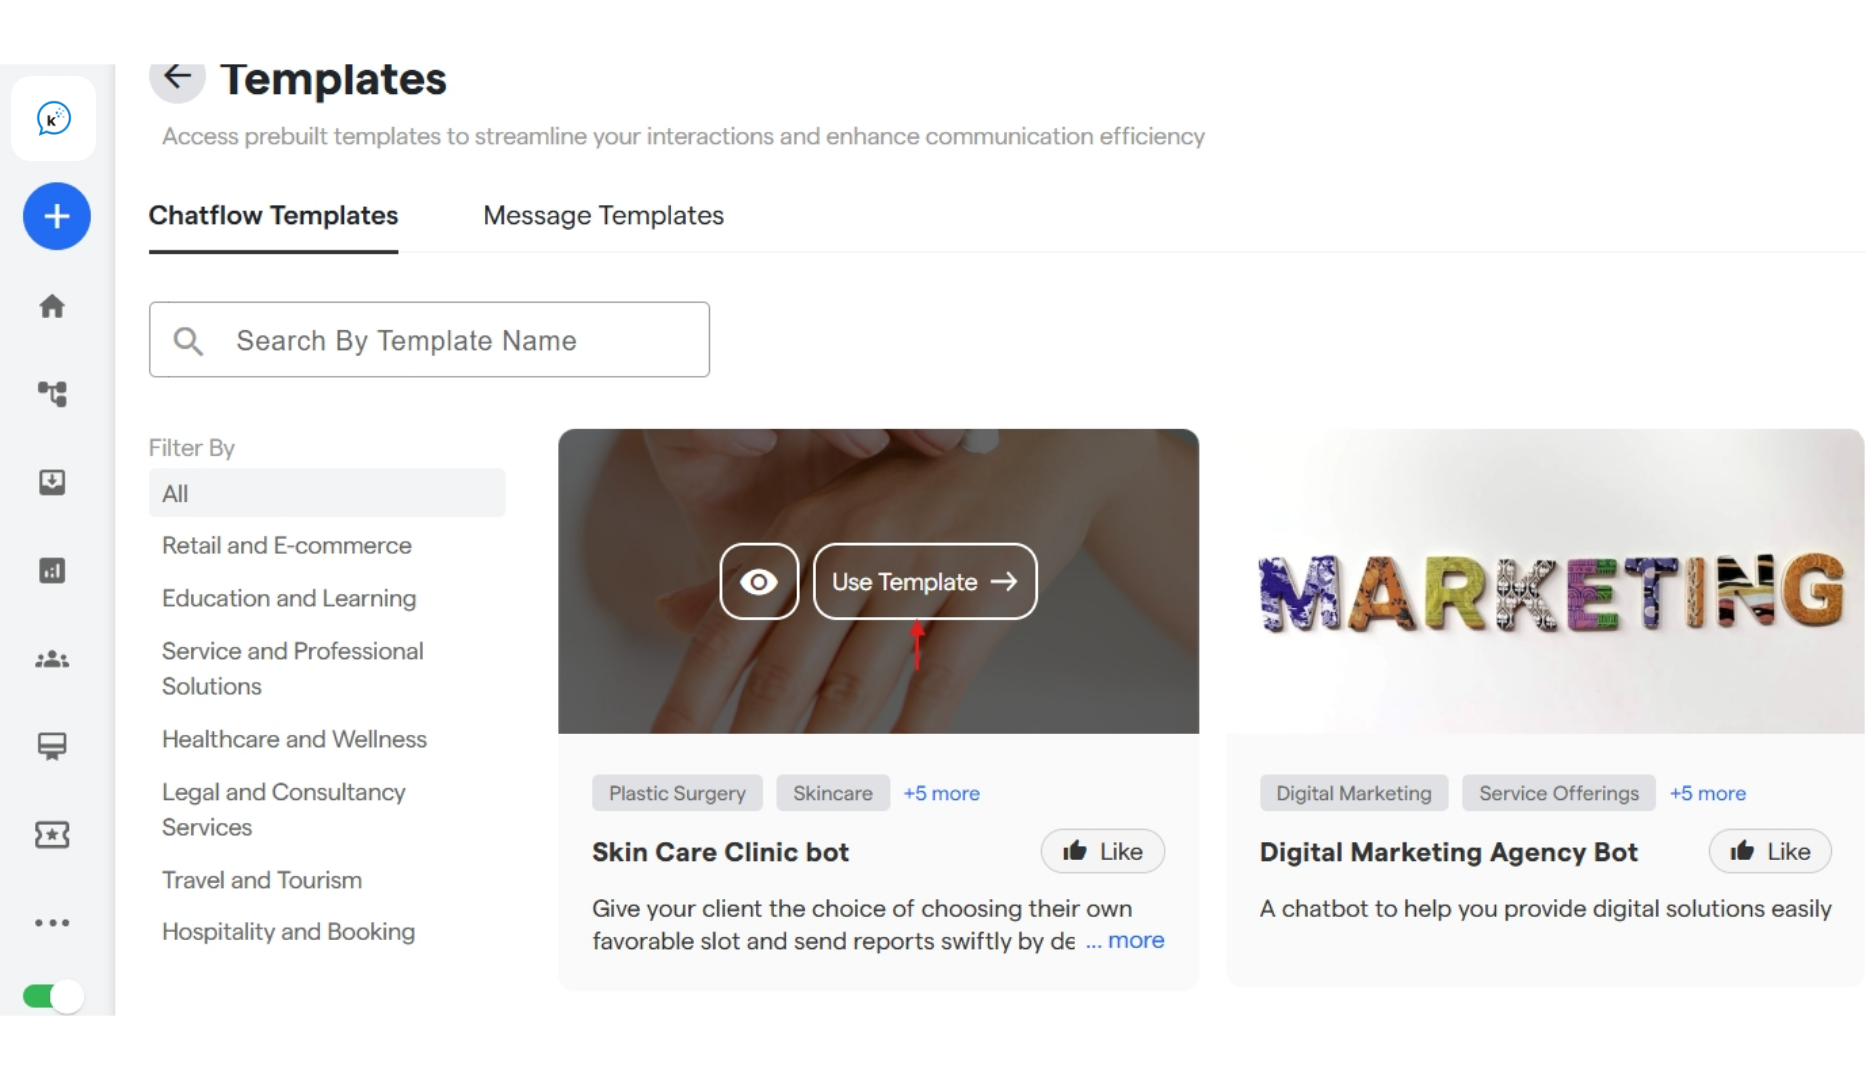
Step 6: While taking a preview you can click on Use Template to directly use it in your chatflow.Step 7: Once clicked on “Use Template” your chatflow template will be ready to be used and edited inside “Edit Your Chat Flow”. You can customize it according to your requirements.
Step 8: Click on Message Templates to select a pre-defined template form “Templates Gallery” or create and customize your personalised template by selecting “Your Templates”.Step 9: When you hover on any of the pre-defined templates you can either take a preview first or directly click on Use Template.
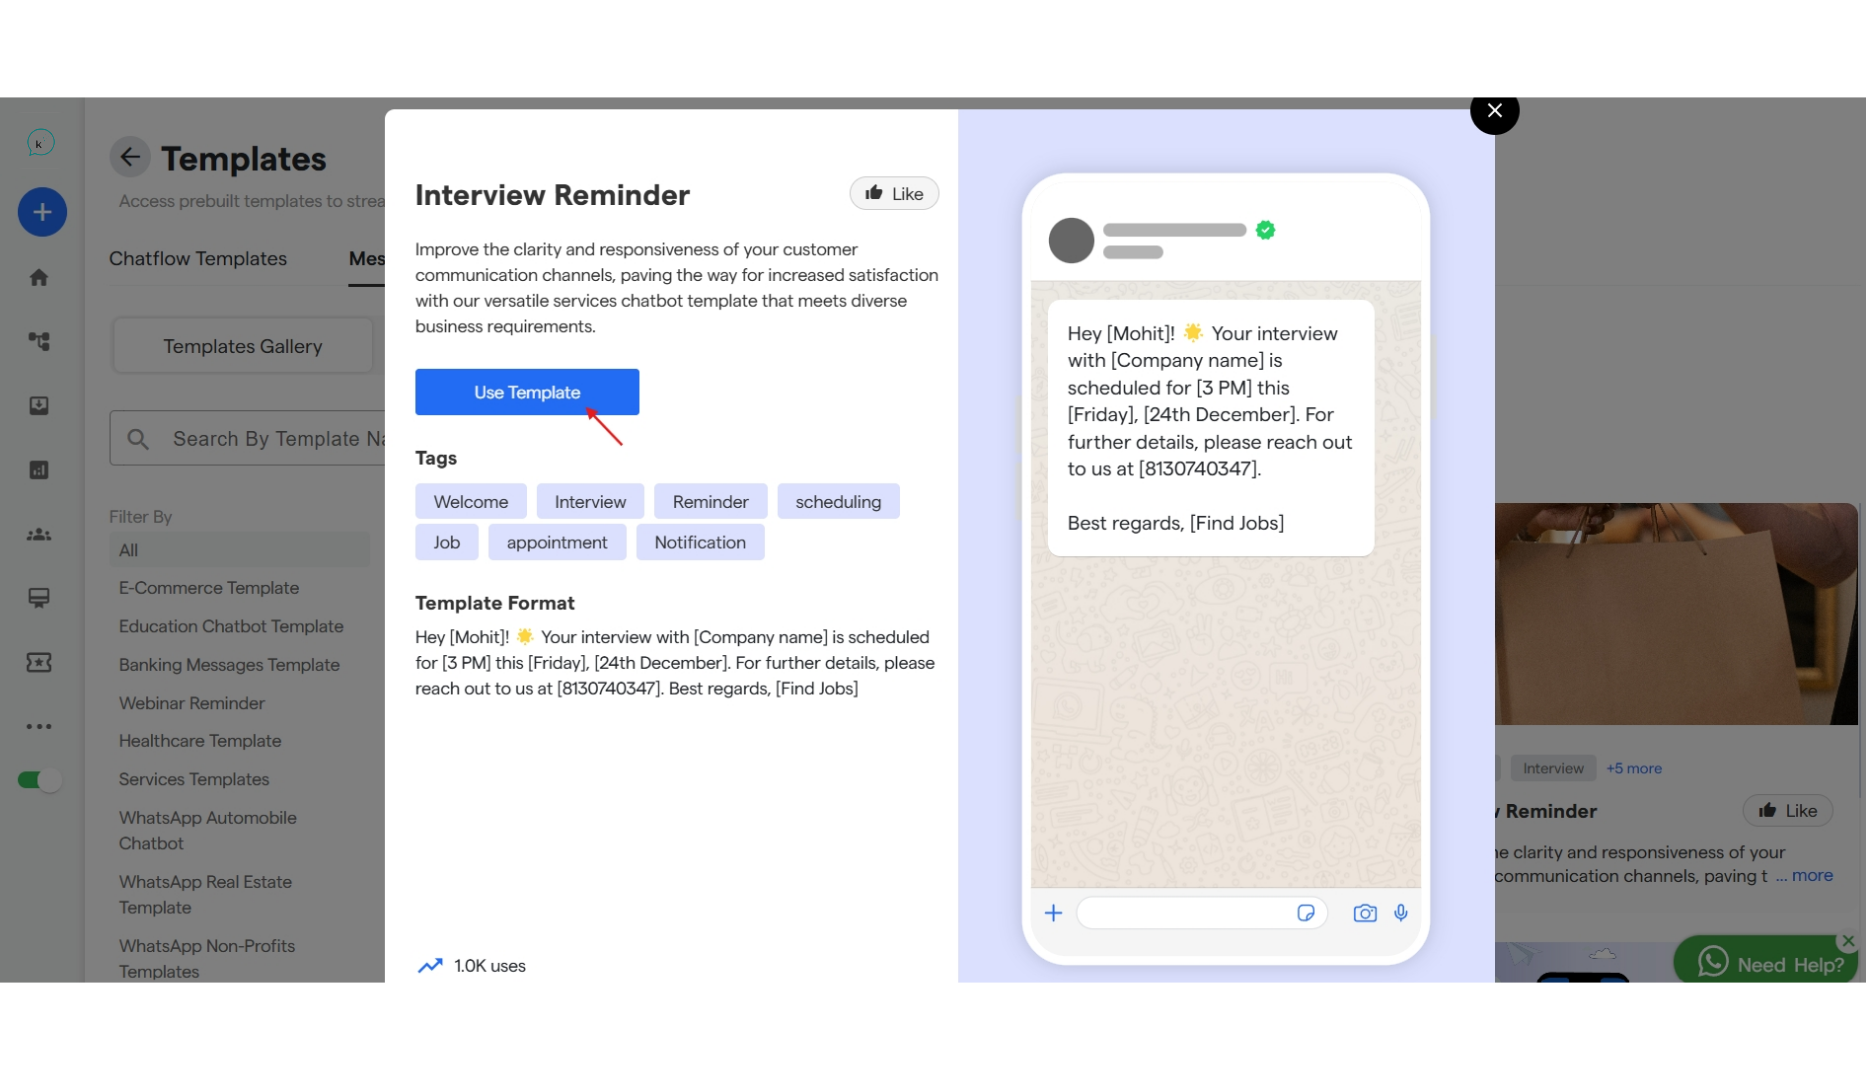
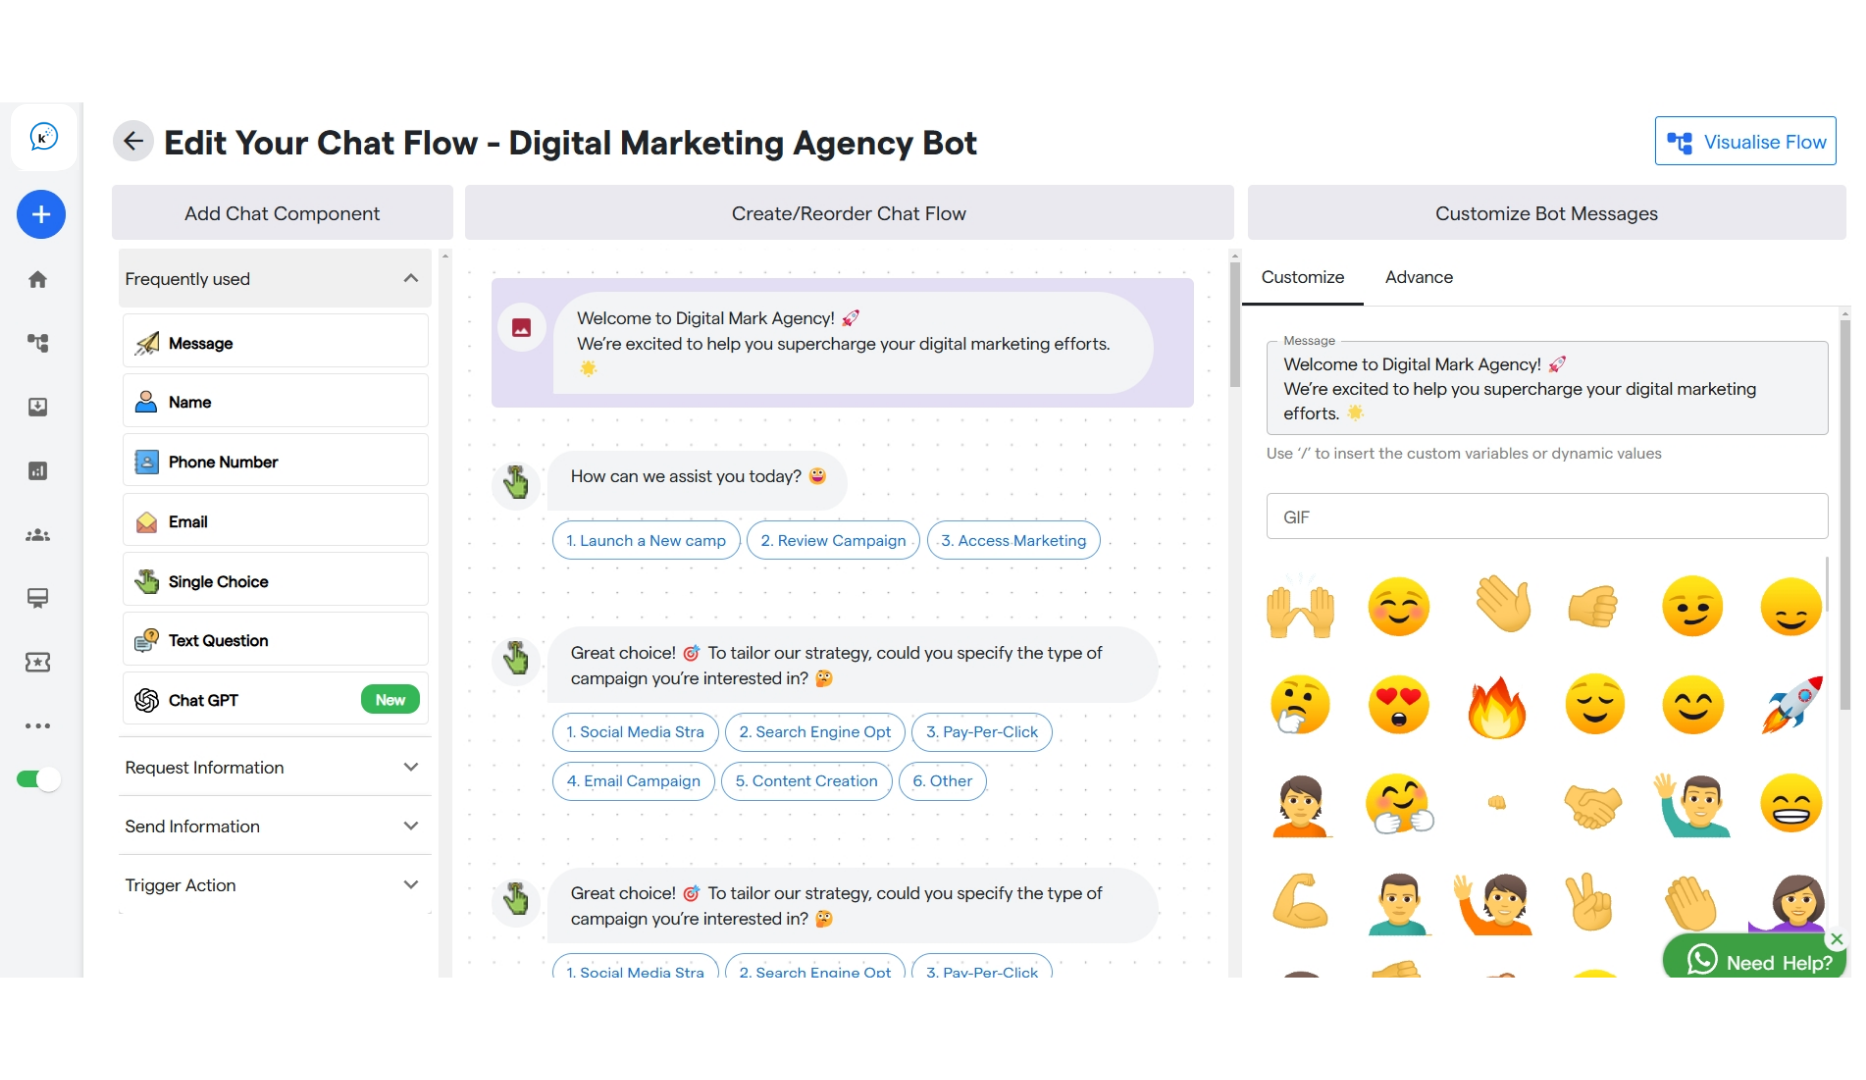
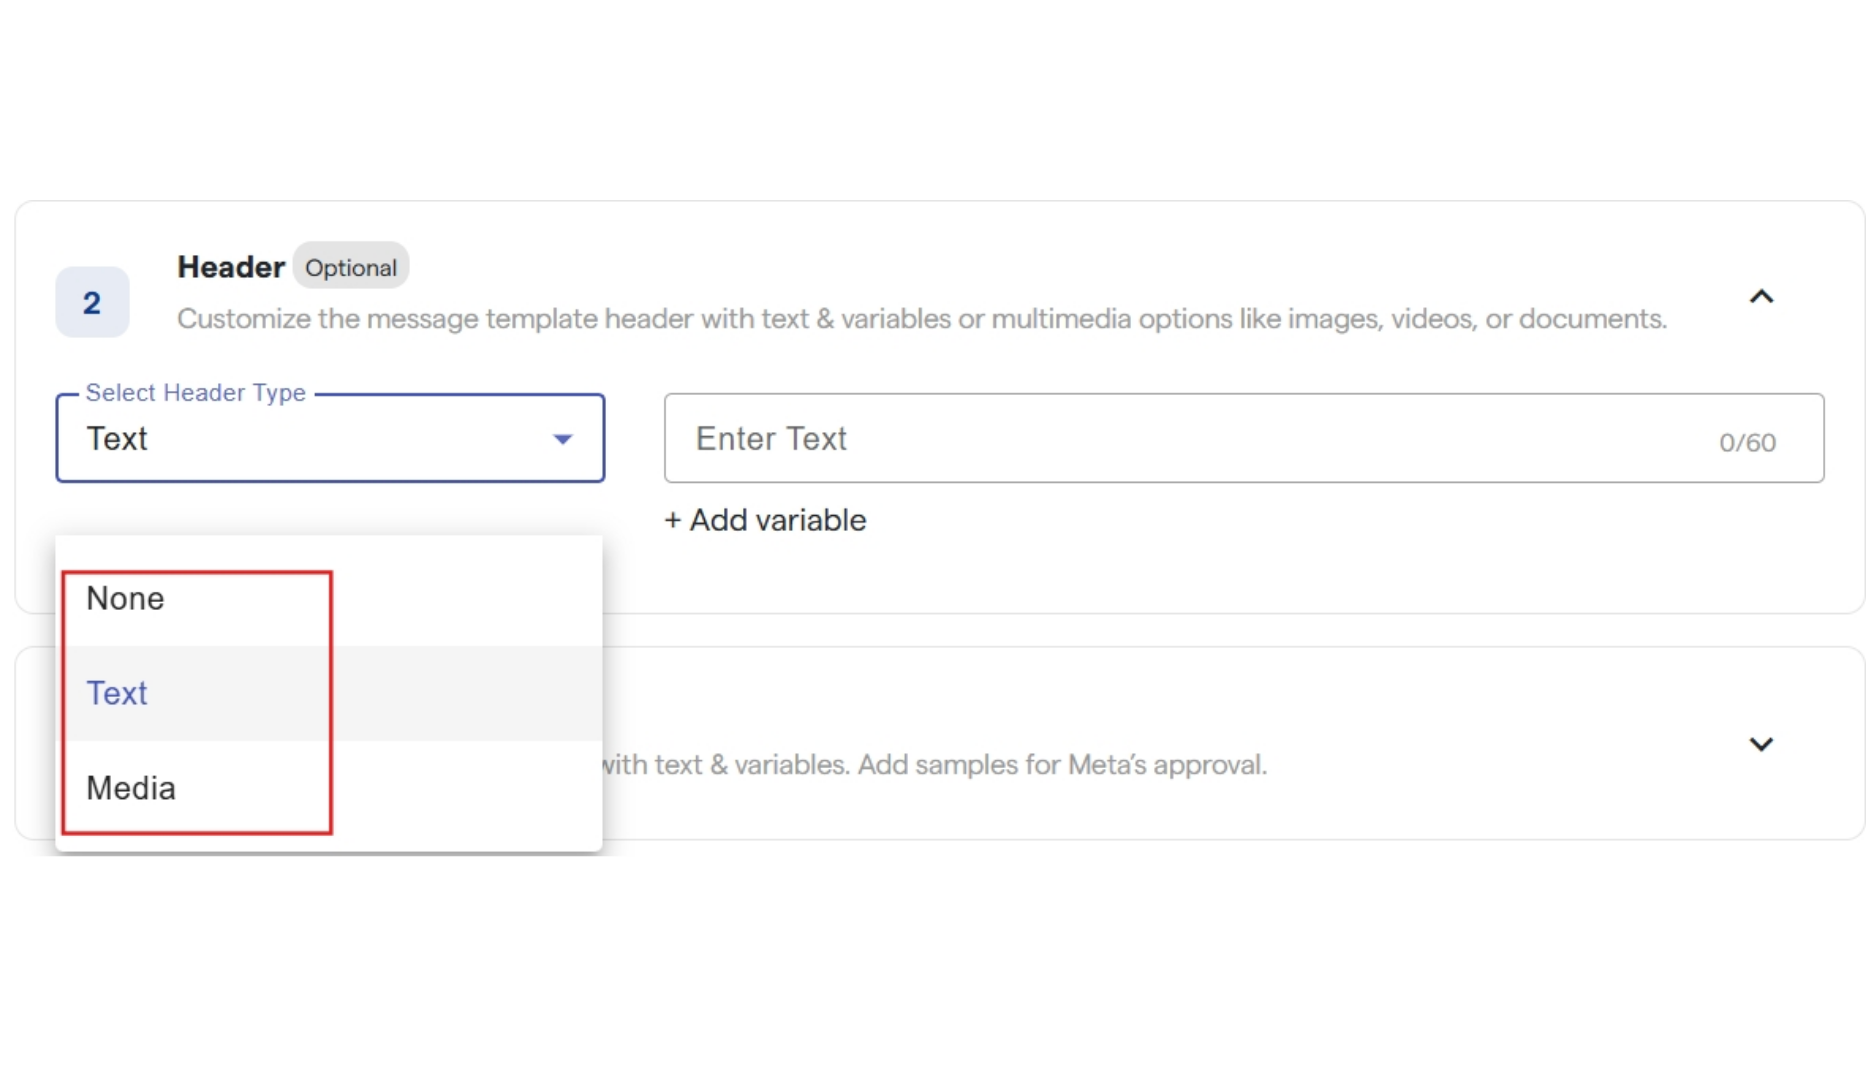
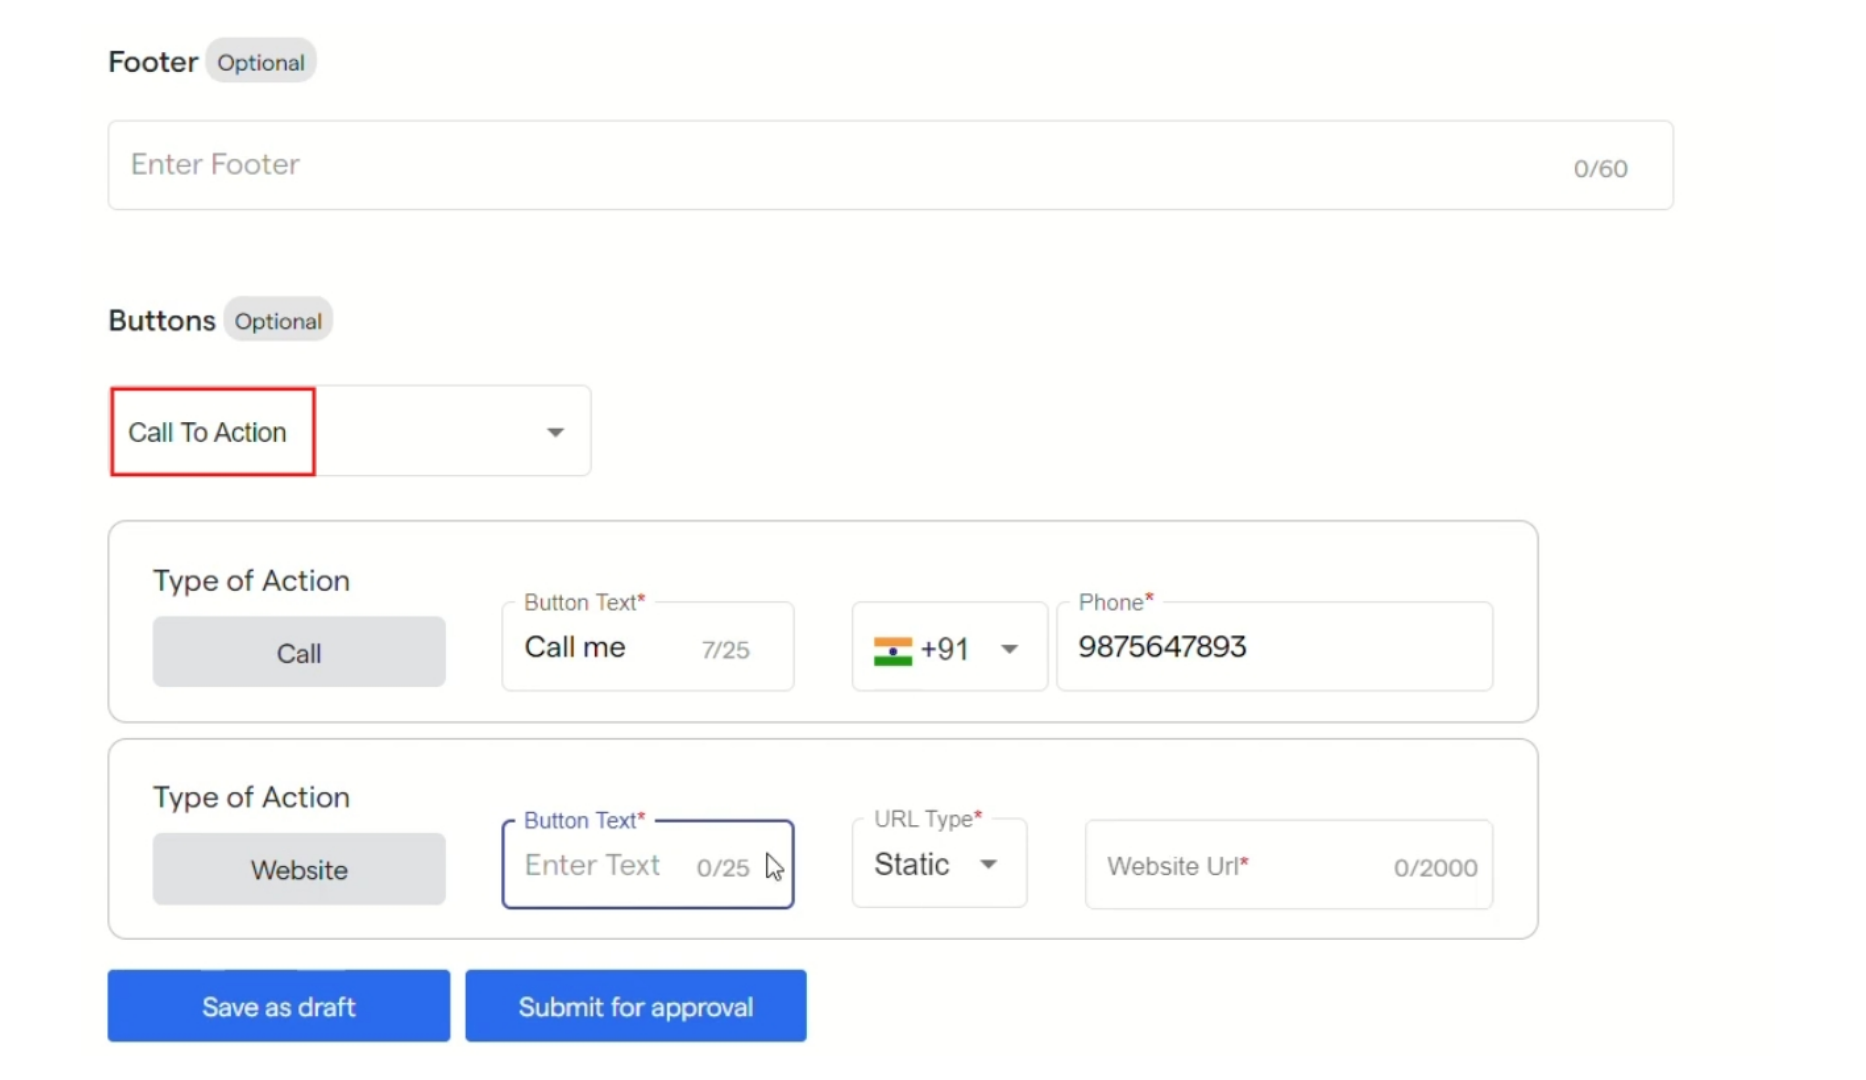
Step 10: You can create a new template in Your Template section. By selecting “Create Template”.Step 11: Under Create Templates section, enter name/title and category for your template. And also select a language for the same. You can select a type for your template by clicking on the drop down.
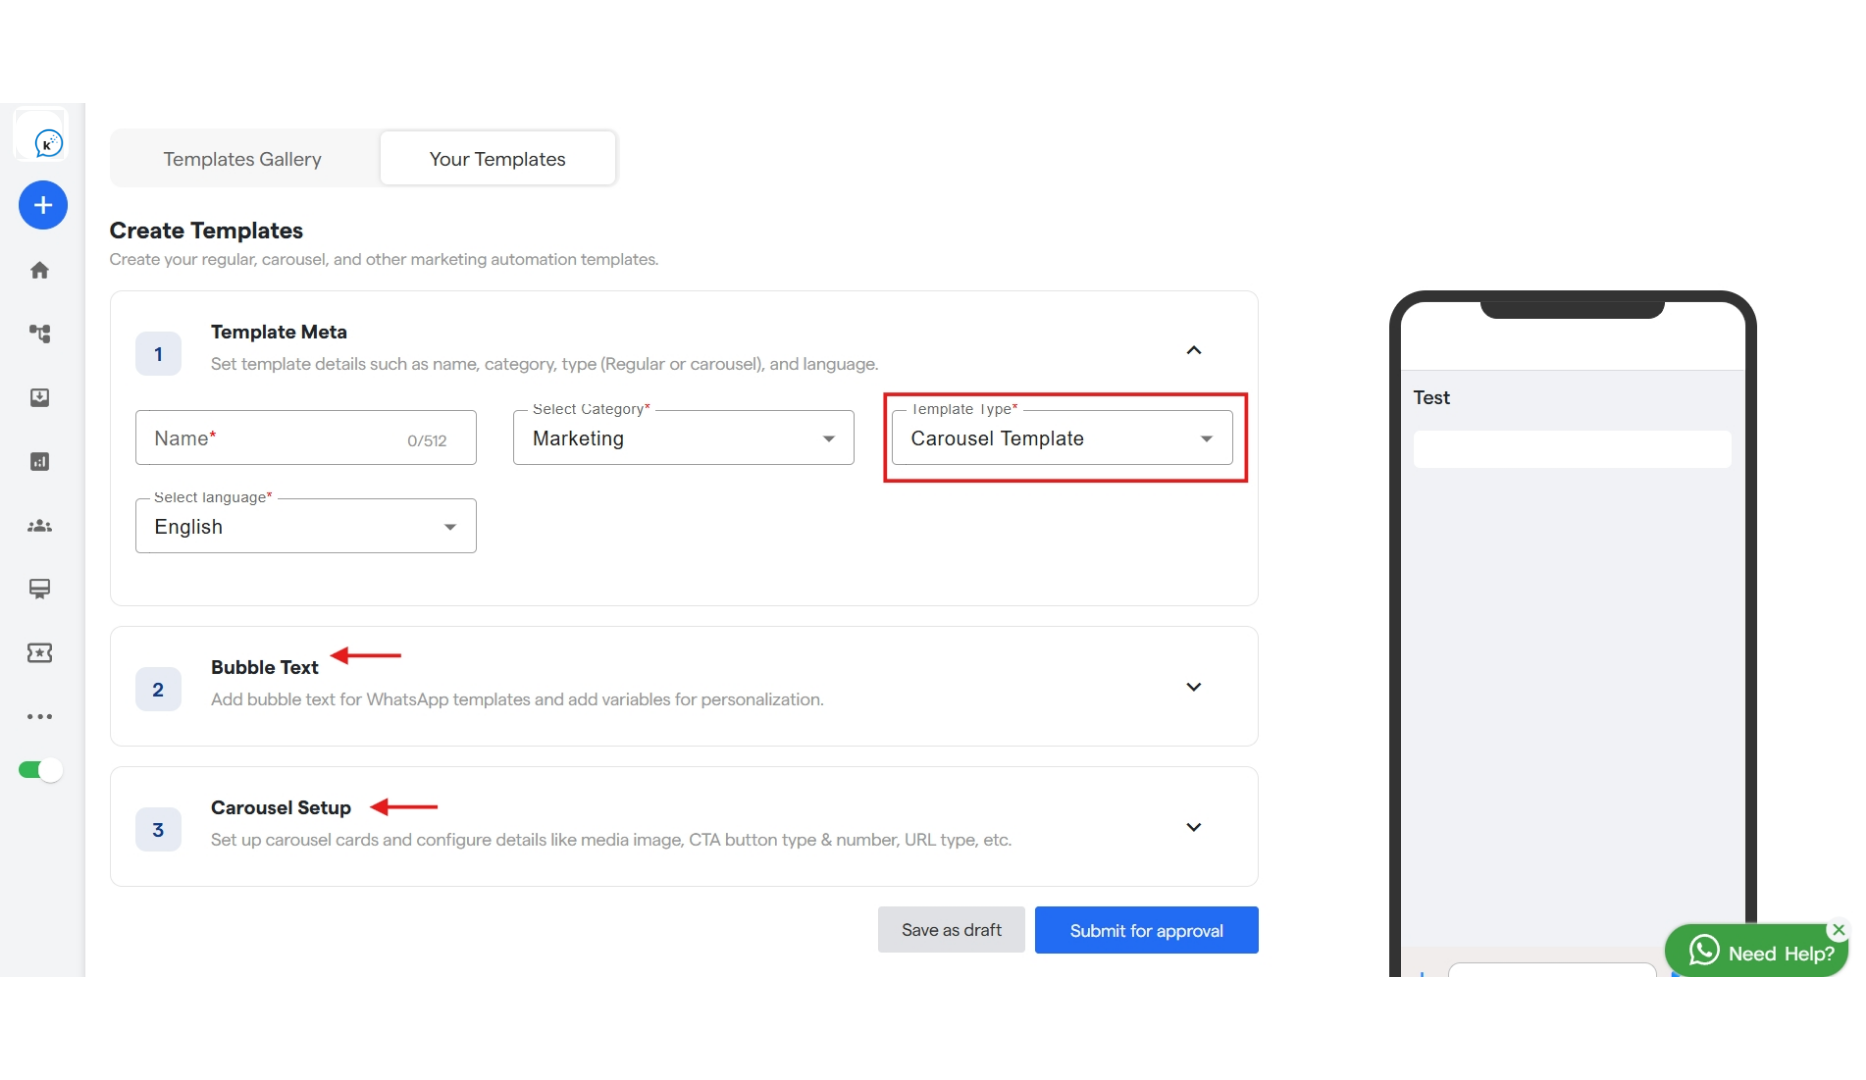
Step 12: Now to configure your template, select a format for you header from the drop down and enter the header text you want to display to your customer. Or you can select a media file you wish to share, it can be either an image, video or a document.Step 13: Enter the content for your template inside the box named body. You can use to create a variable in the body and configure that later.Step 14: Enter the content for Footer that will be displayed in your template.Step 15: You can also add Buttons in your templates. After selecting the type for buttons from the drop down you can configure them as shown below.Step 16: Click on “save as draft” if you want to do changes later and click on “Submit for approval” if your are done creating the template.Step 17: In “Manage Templates” your template will be visible. It will get approved by WhatsApp once submitted for approval.Step 18: Under actions, you have options to copy template id, to delete the template and select a flow for your buttons inside the template.Step 19: Similarly you can configure flows for your template reply using buttons added in it.
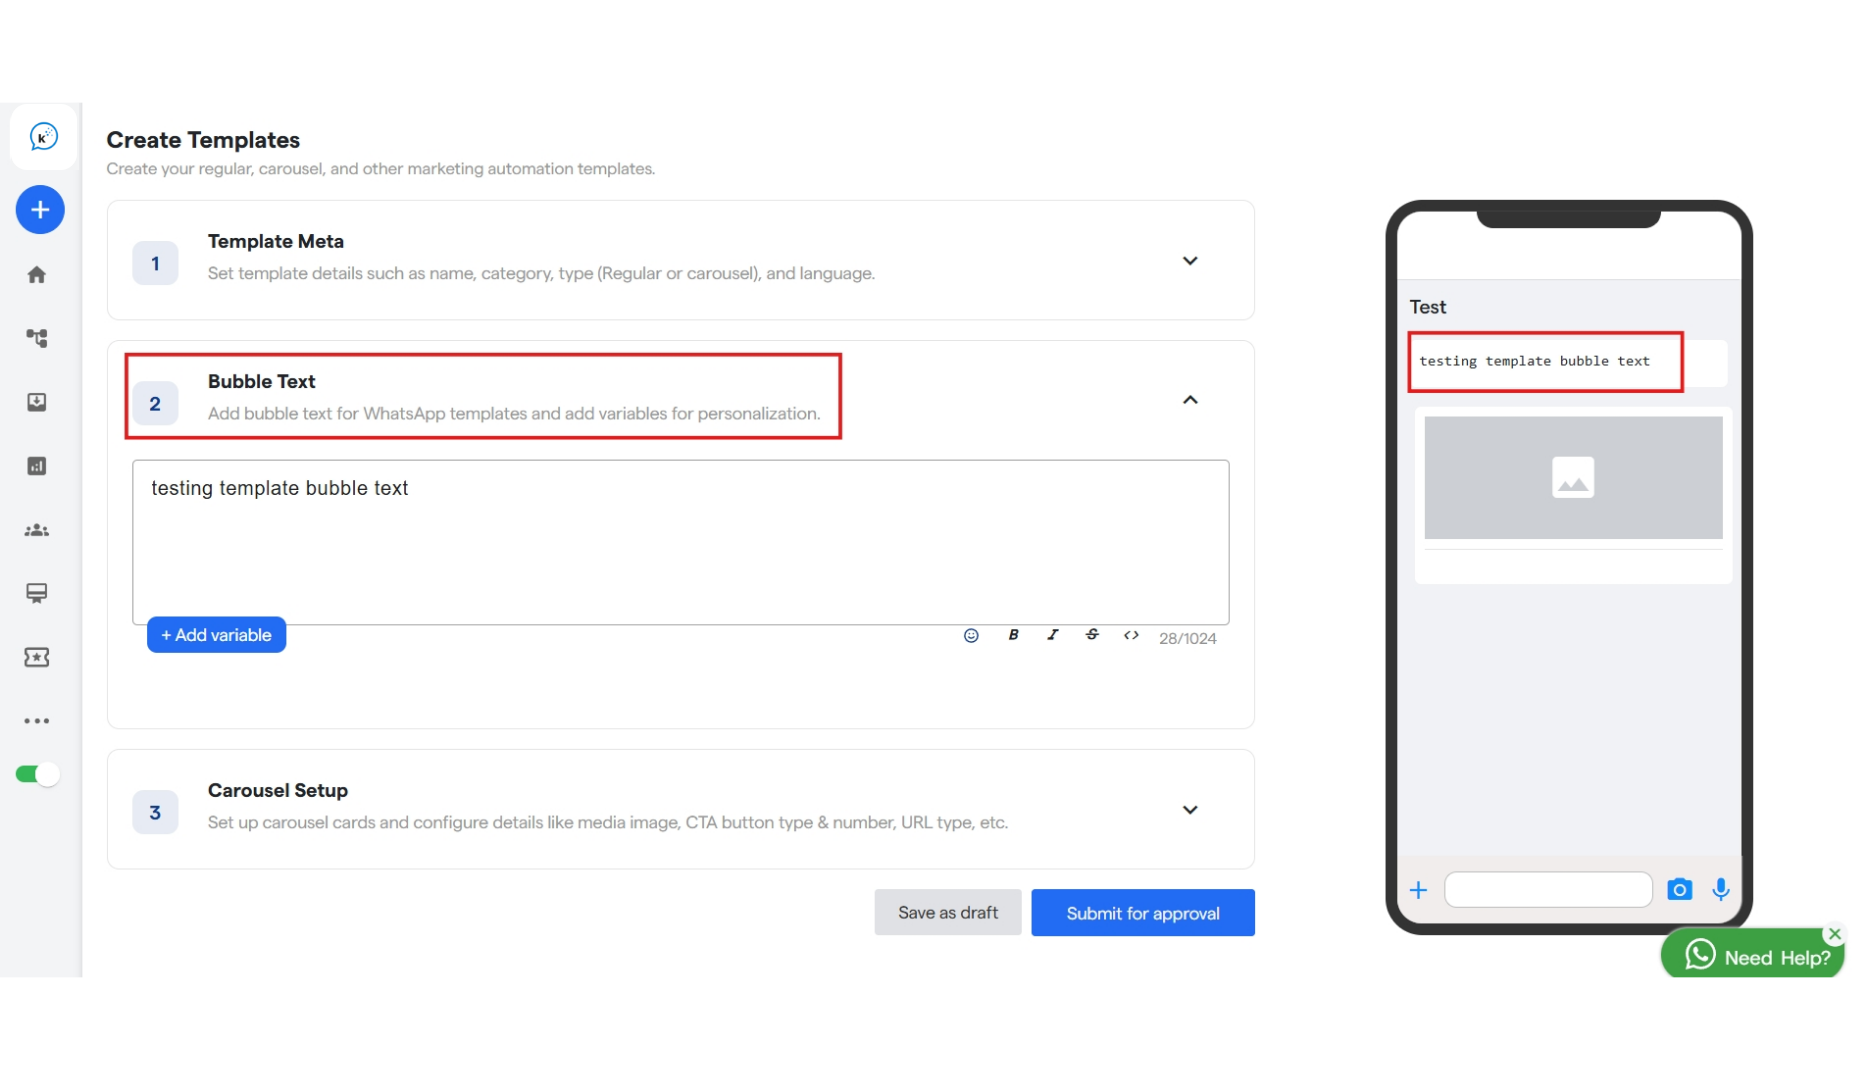
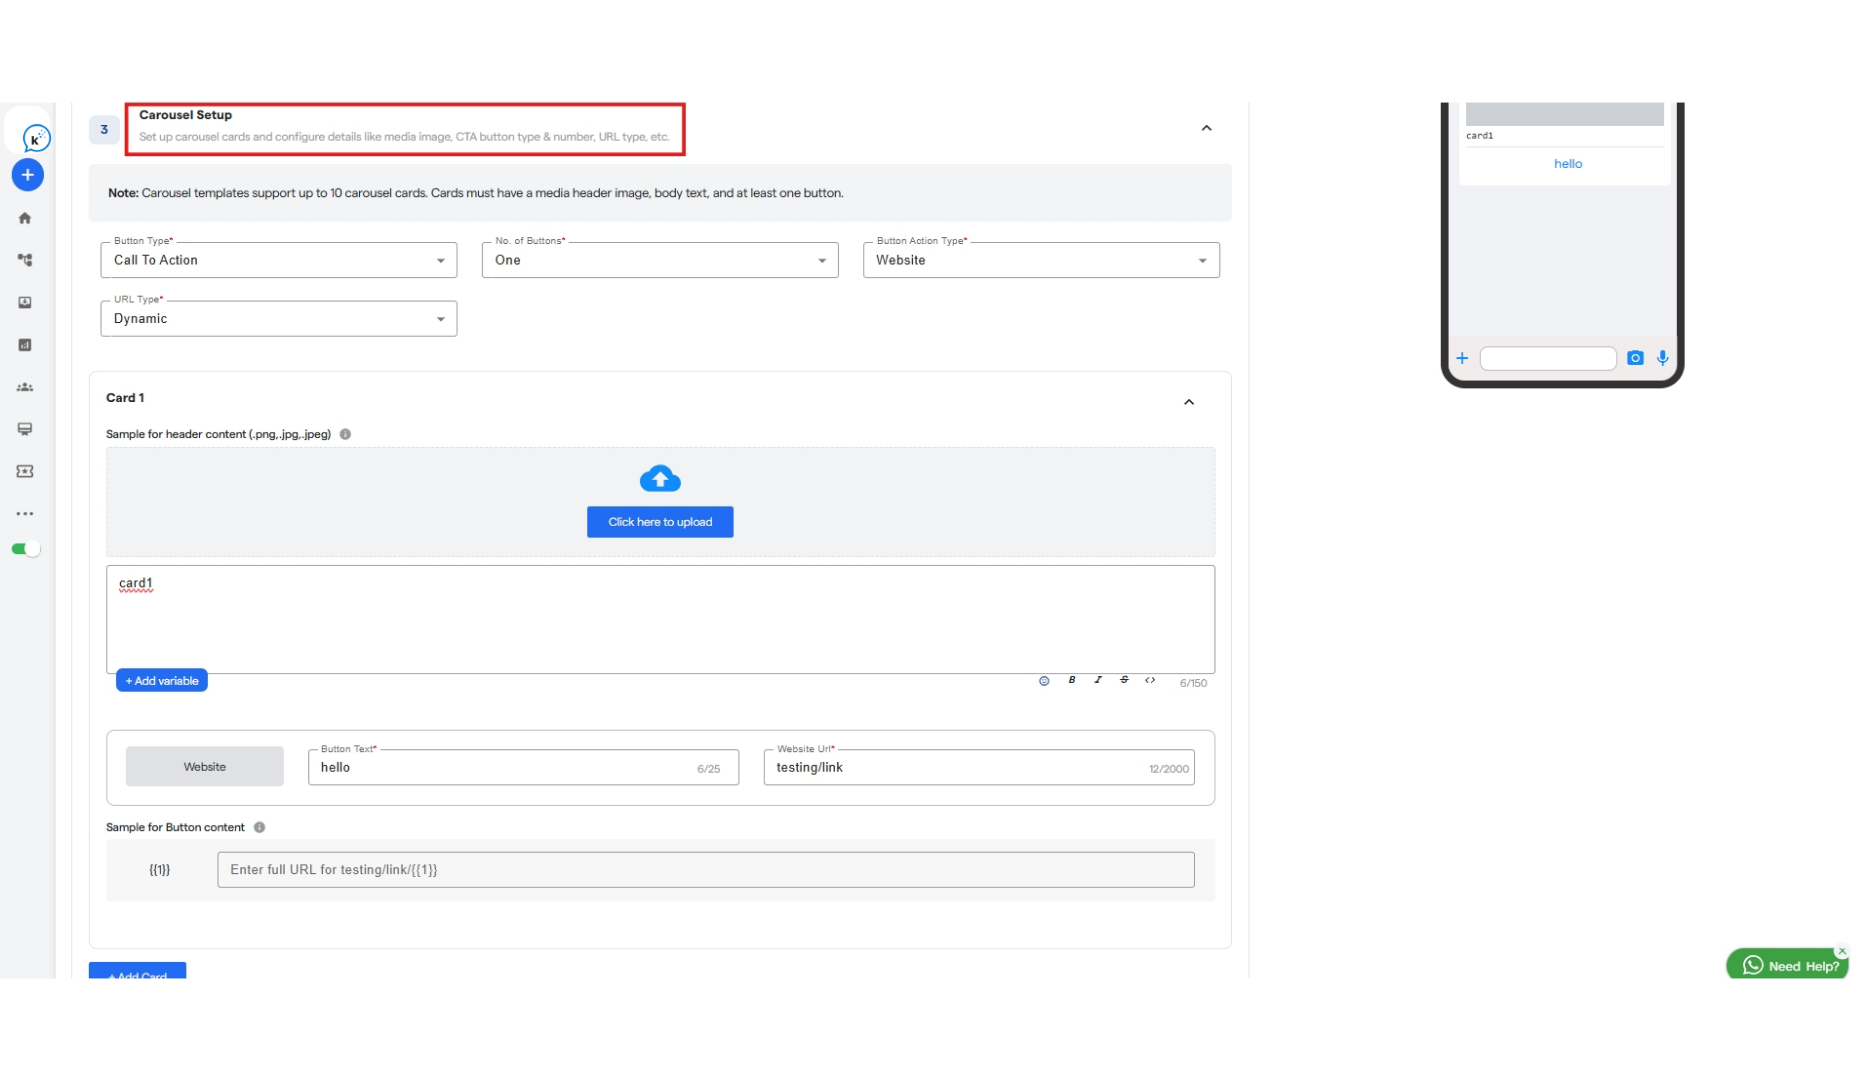
Step 20: When you select “Carousel” as Template Type. You will get options namely:Step 21: “Bubble Text” in which you can add text for the template and add variable for the same.Step 22: “Carousel Setup” in which you can set up cards and configure their media and add CTA buttonsStep 23: Inside “Bubble Text” you will get a text box in which you can enter your text and can click on “Add Variable” to add a variable inside your text.Step 24: Inside “Carousel Setup” you can select a button type which can be “Call to Action” or “Quick Reply”. And accordingly you can fill the following details as asked.Step 25: After that create card for your carousel. Add an image and type something about it.Step 26: Then add a button just below the card. Which will be functional and clickable.Similarly you can add up to 10 cards for your carousel.Step 28: Then click on “Save as draft” or “Submit for approval”.Done! You have created your WhatsApp Template. Now wait for getting it approved by meta.