Step 1: Access the Meta Business Suite
- Open your web browser and navigate to the Meta Business Suite.
- Log in to your Meta Business Suite account using your credentials.
Step 2: Locate and Access Business Settings
- In the Meta Business Suite, find the top-left dropdown menu that displays your business account name.
- Click on the Settings (gear) icon next to your business account name.
Step 3: Navigate to Business Settings
- After clicking the Settings (gear) icon, a dropdown menu will appear.
- Click on “Business settings” from the dropdown menu.
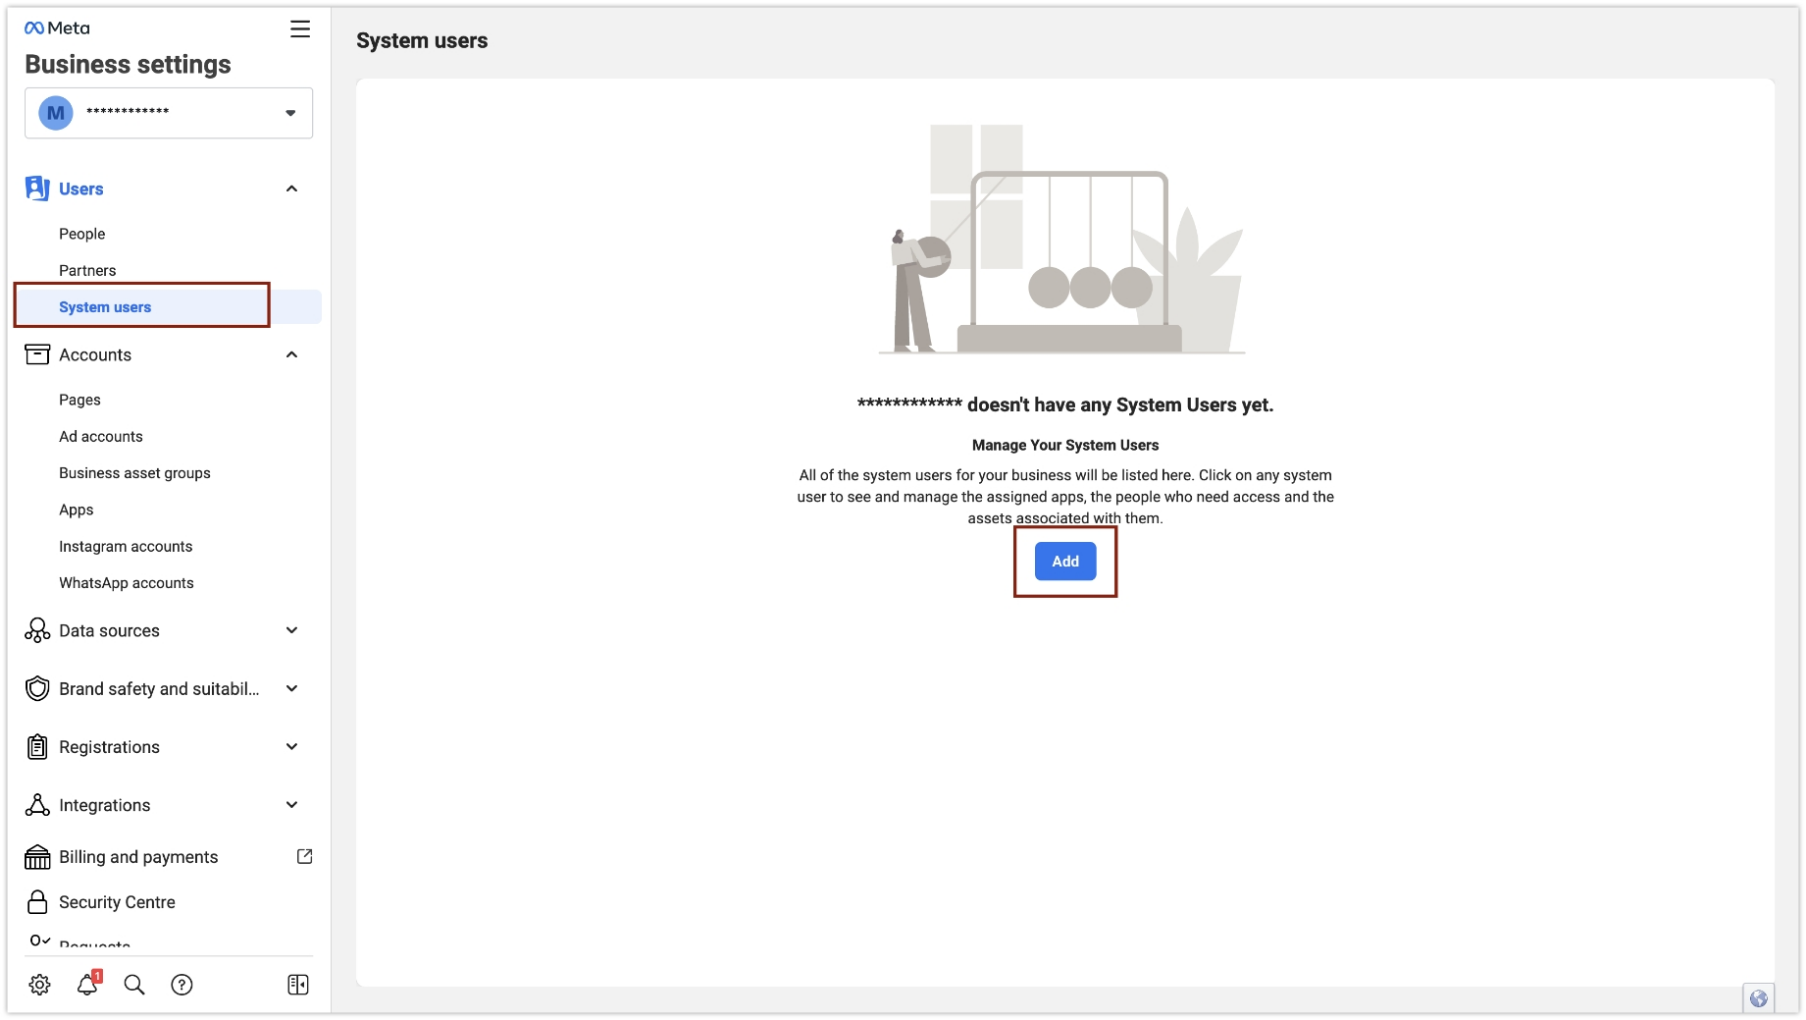
Step 4: Create a system user
-
Navigate to
System Users“Users” in the sidebar. -
Click on “System Users” and click “Add” to add a new user
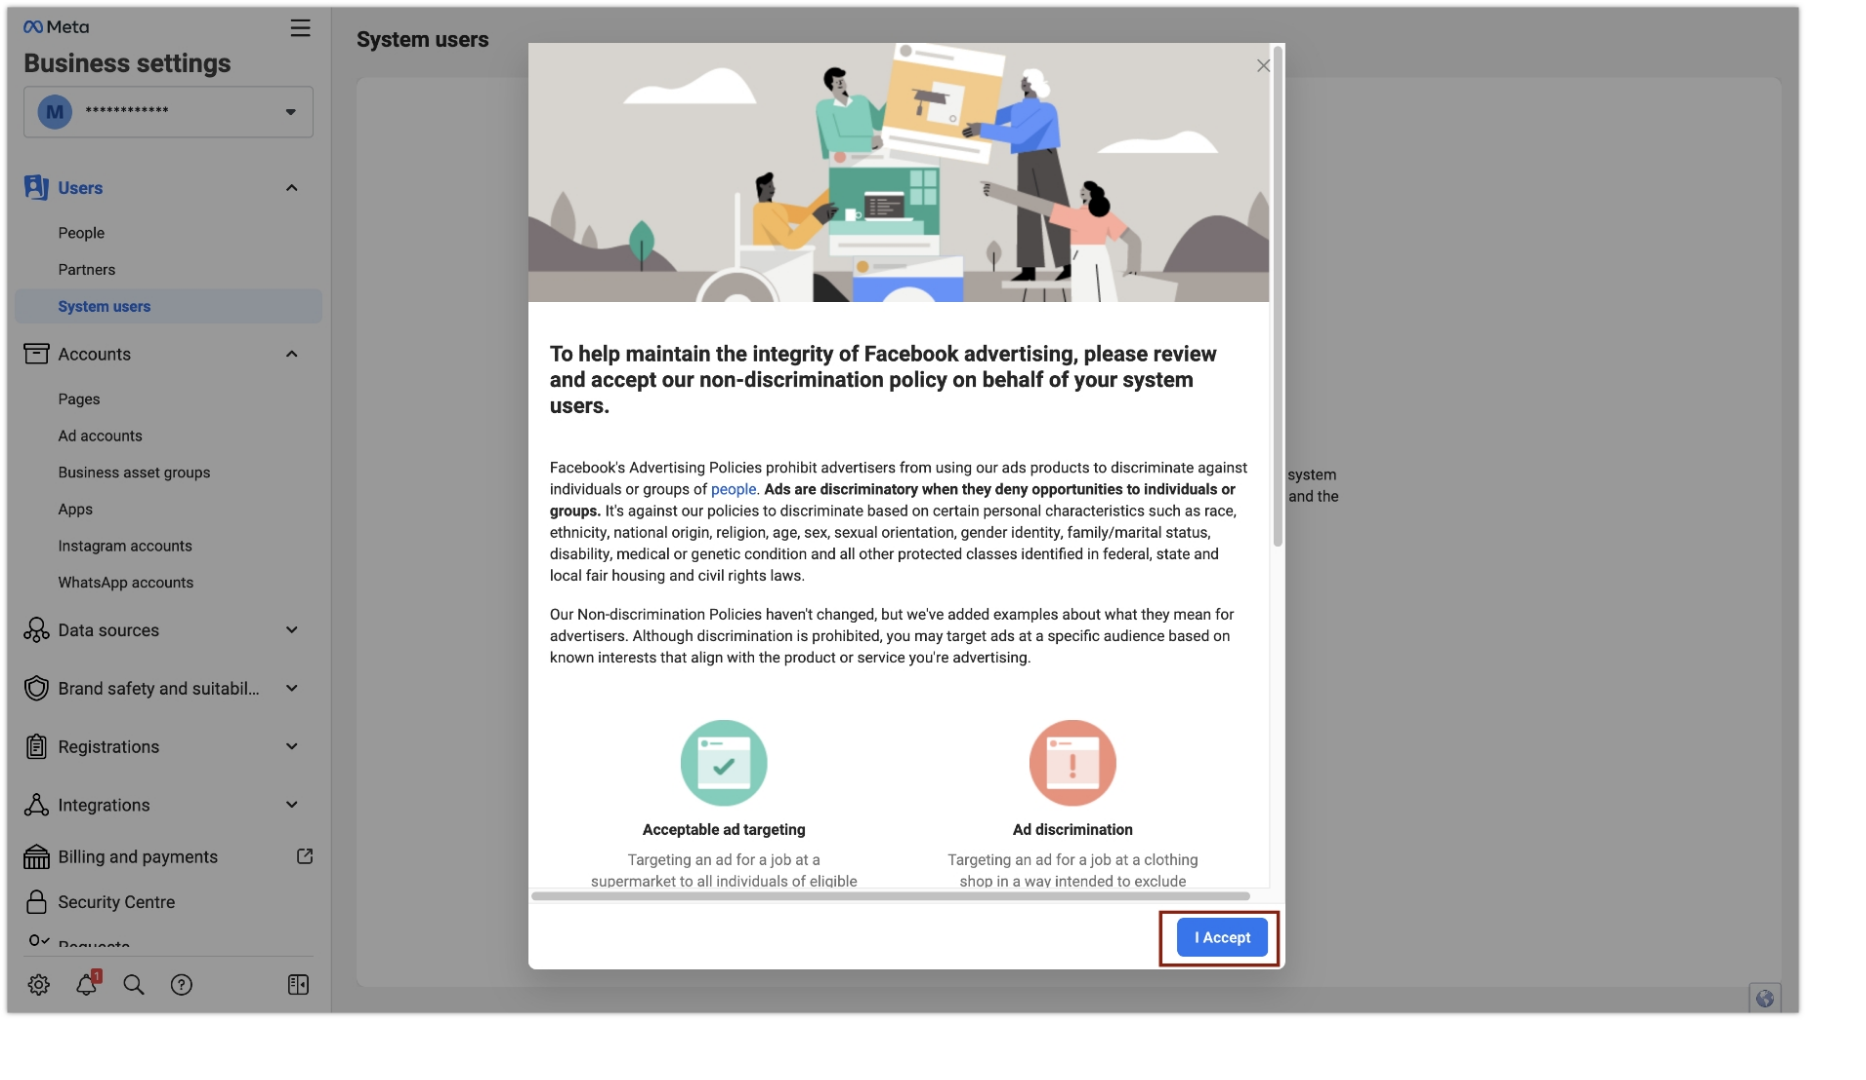
-
Accept the policy to start adding user
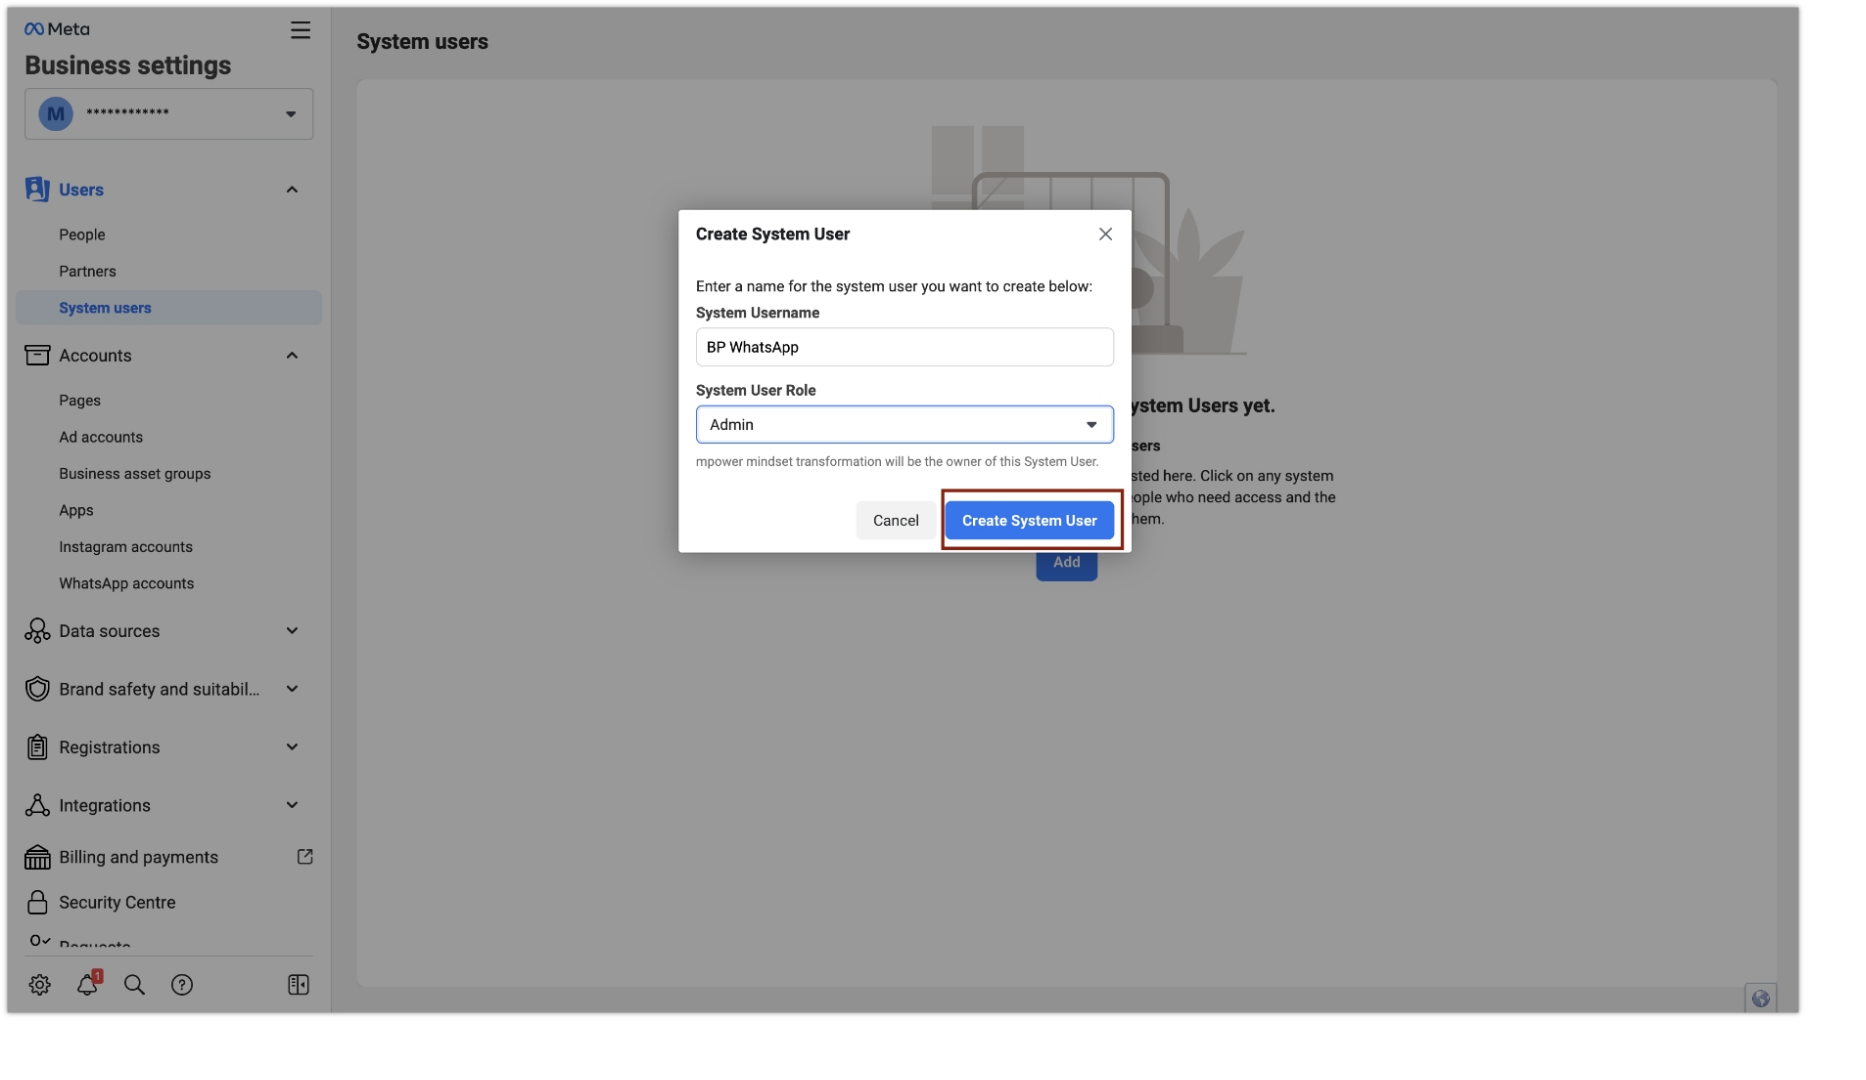
-
Once the “Create system user” pop-up opens, Give a name (E.g. BP-WhatsApp) and keep the user role as “Admin”
-
Once the system user is added, Click on the “Generate new token”

-
Once the “Generate Token” pop-up opens up,
- Select the App that you created earlier.
- Choose Token expiration as “Never”
-
Assign following permissions
- business_management
- catalog_management
- whatsapp_business_messaging
- whatsapp_business_management
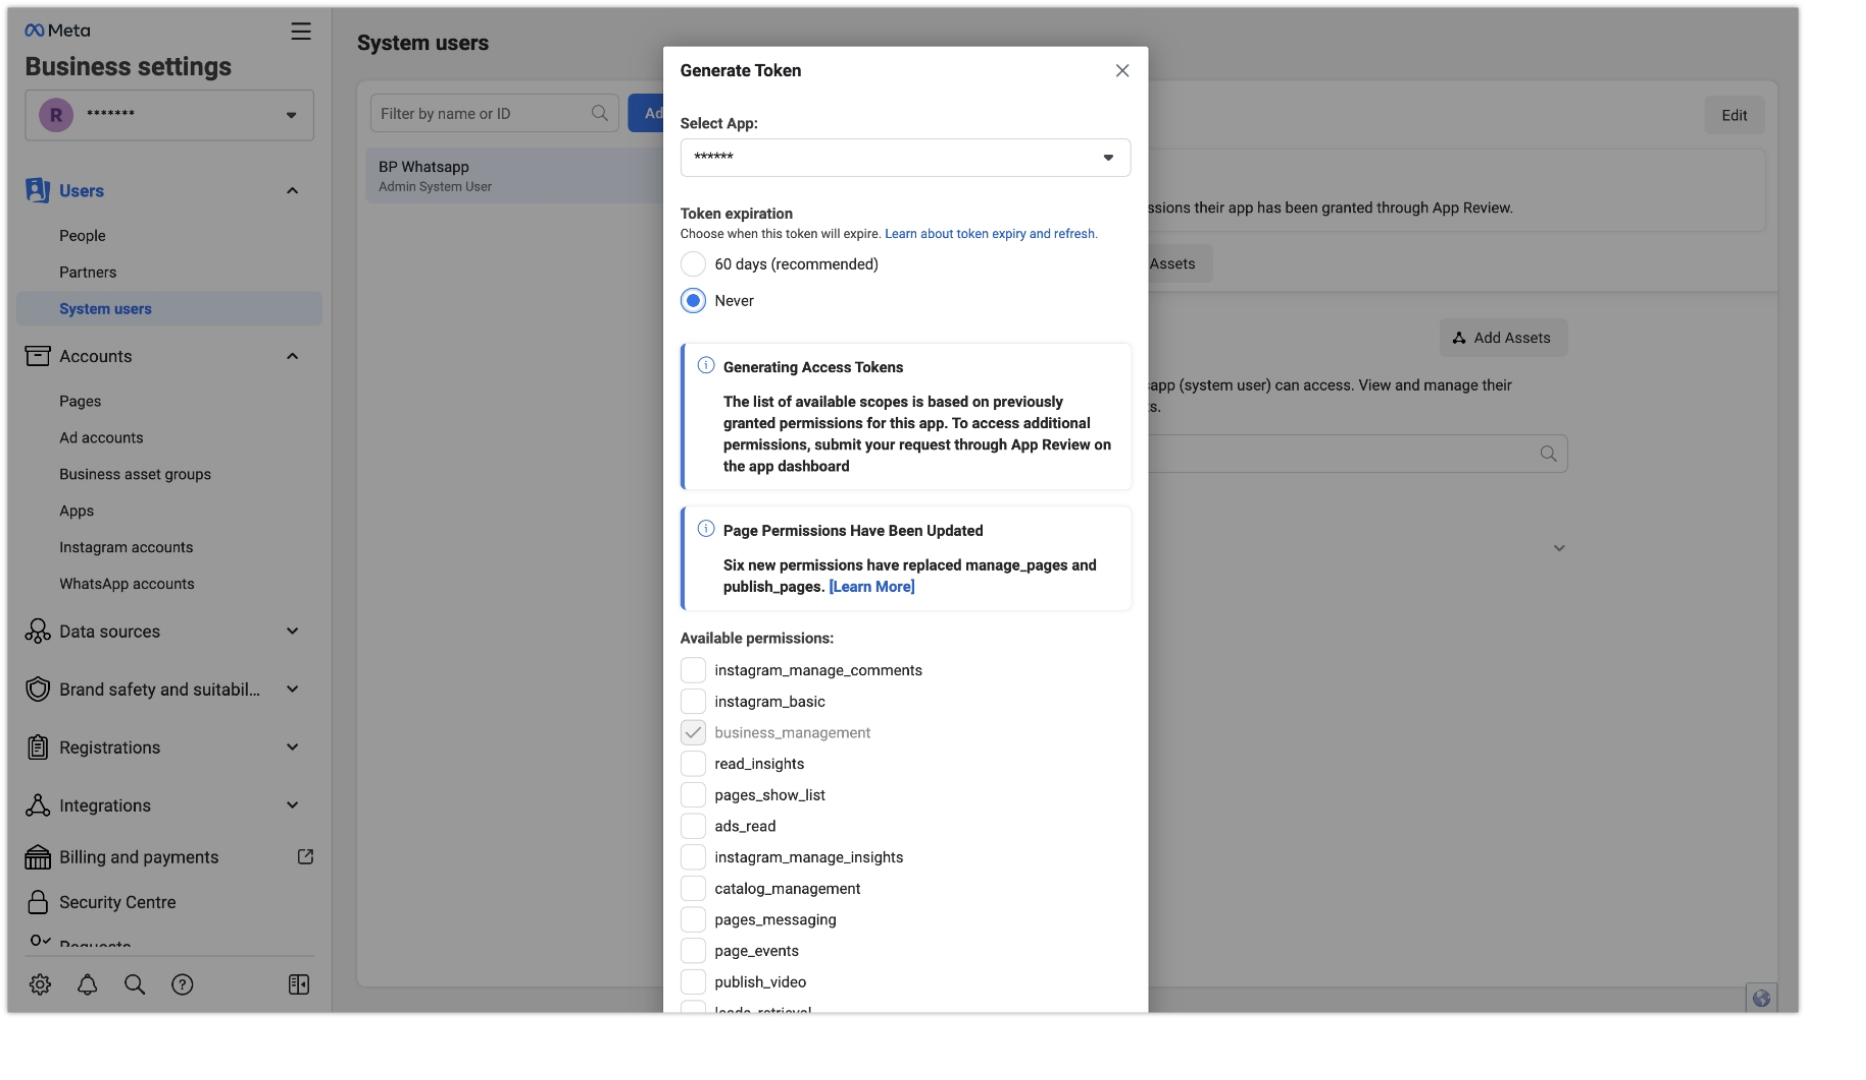
- Click “Generate Token”
- Copy the token and save it safely.
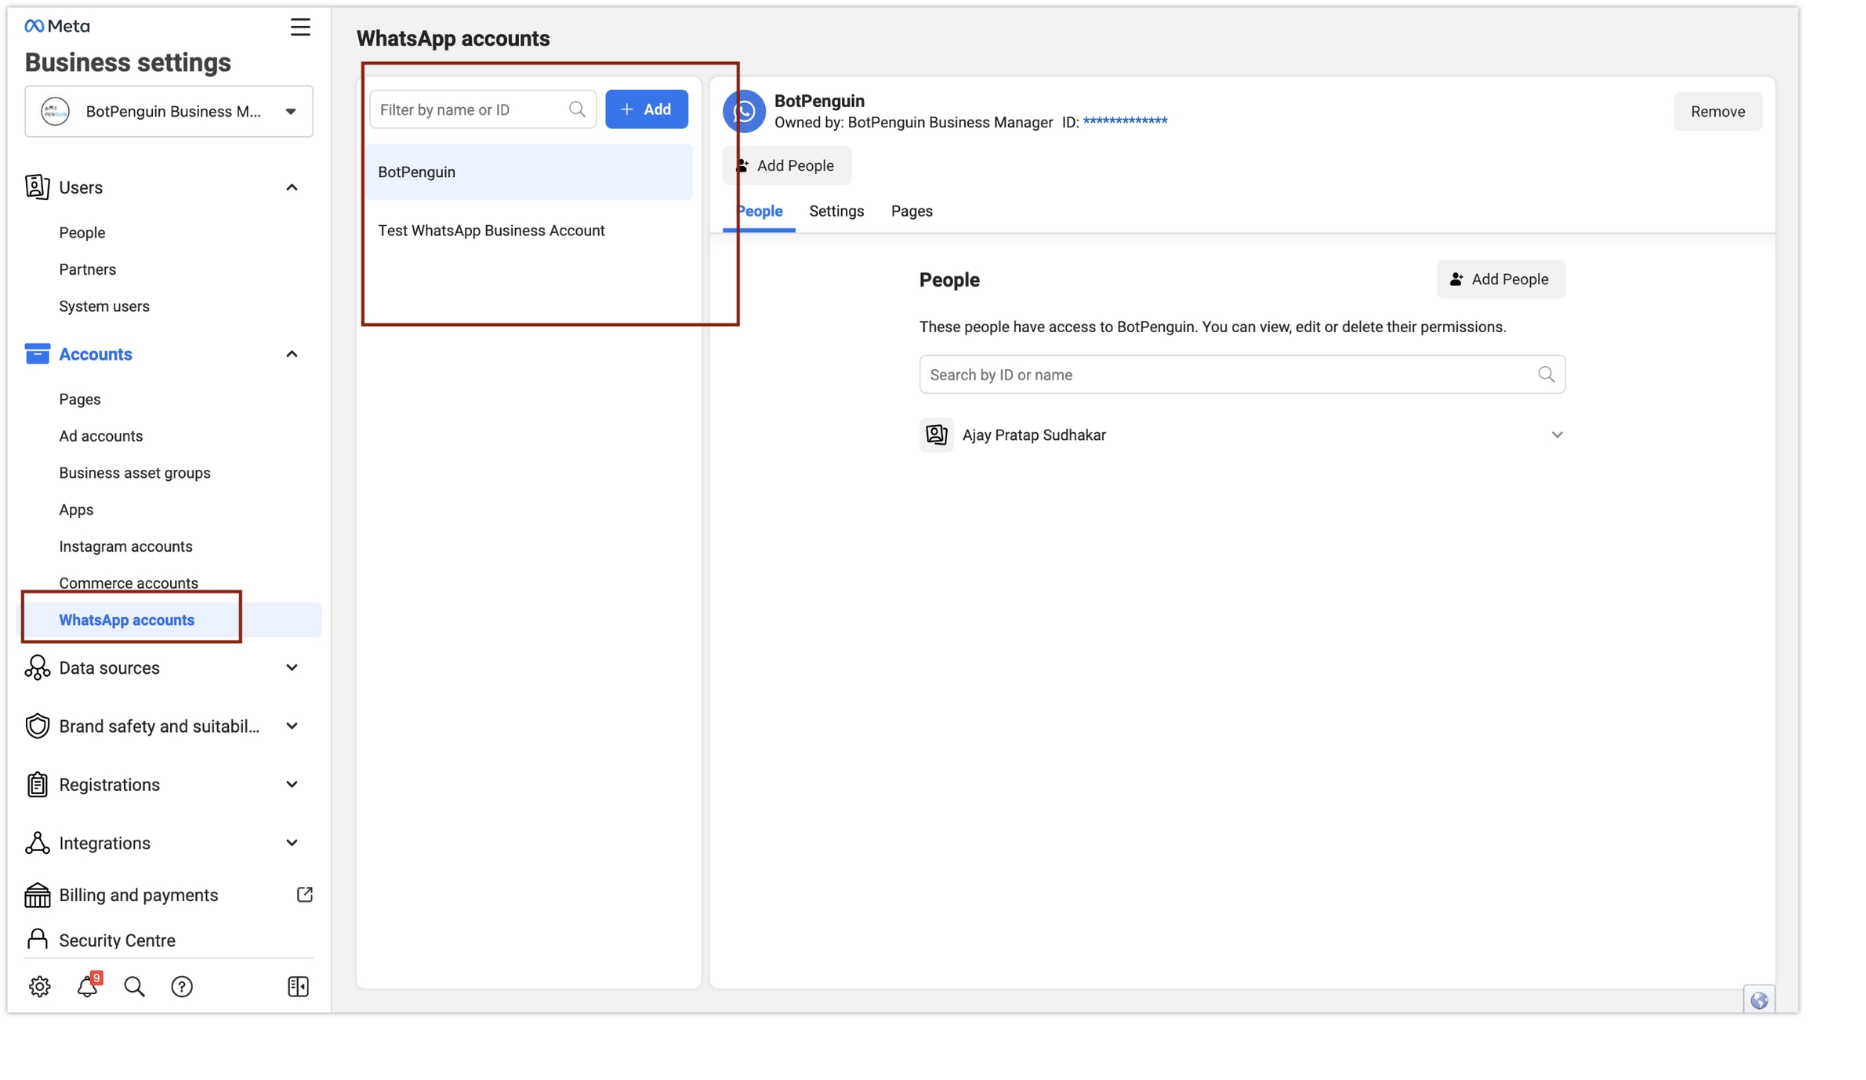
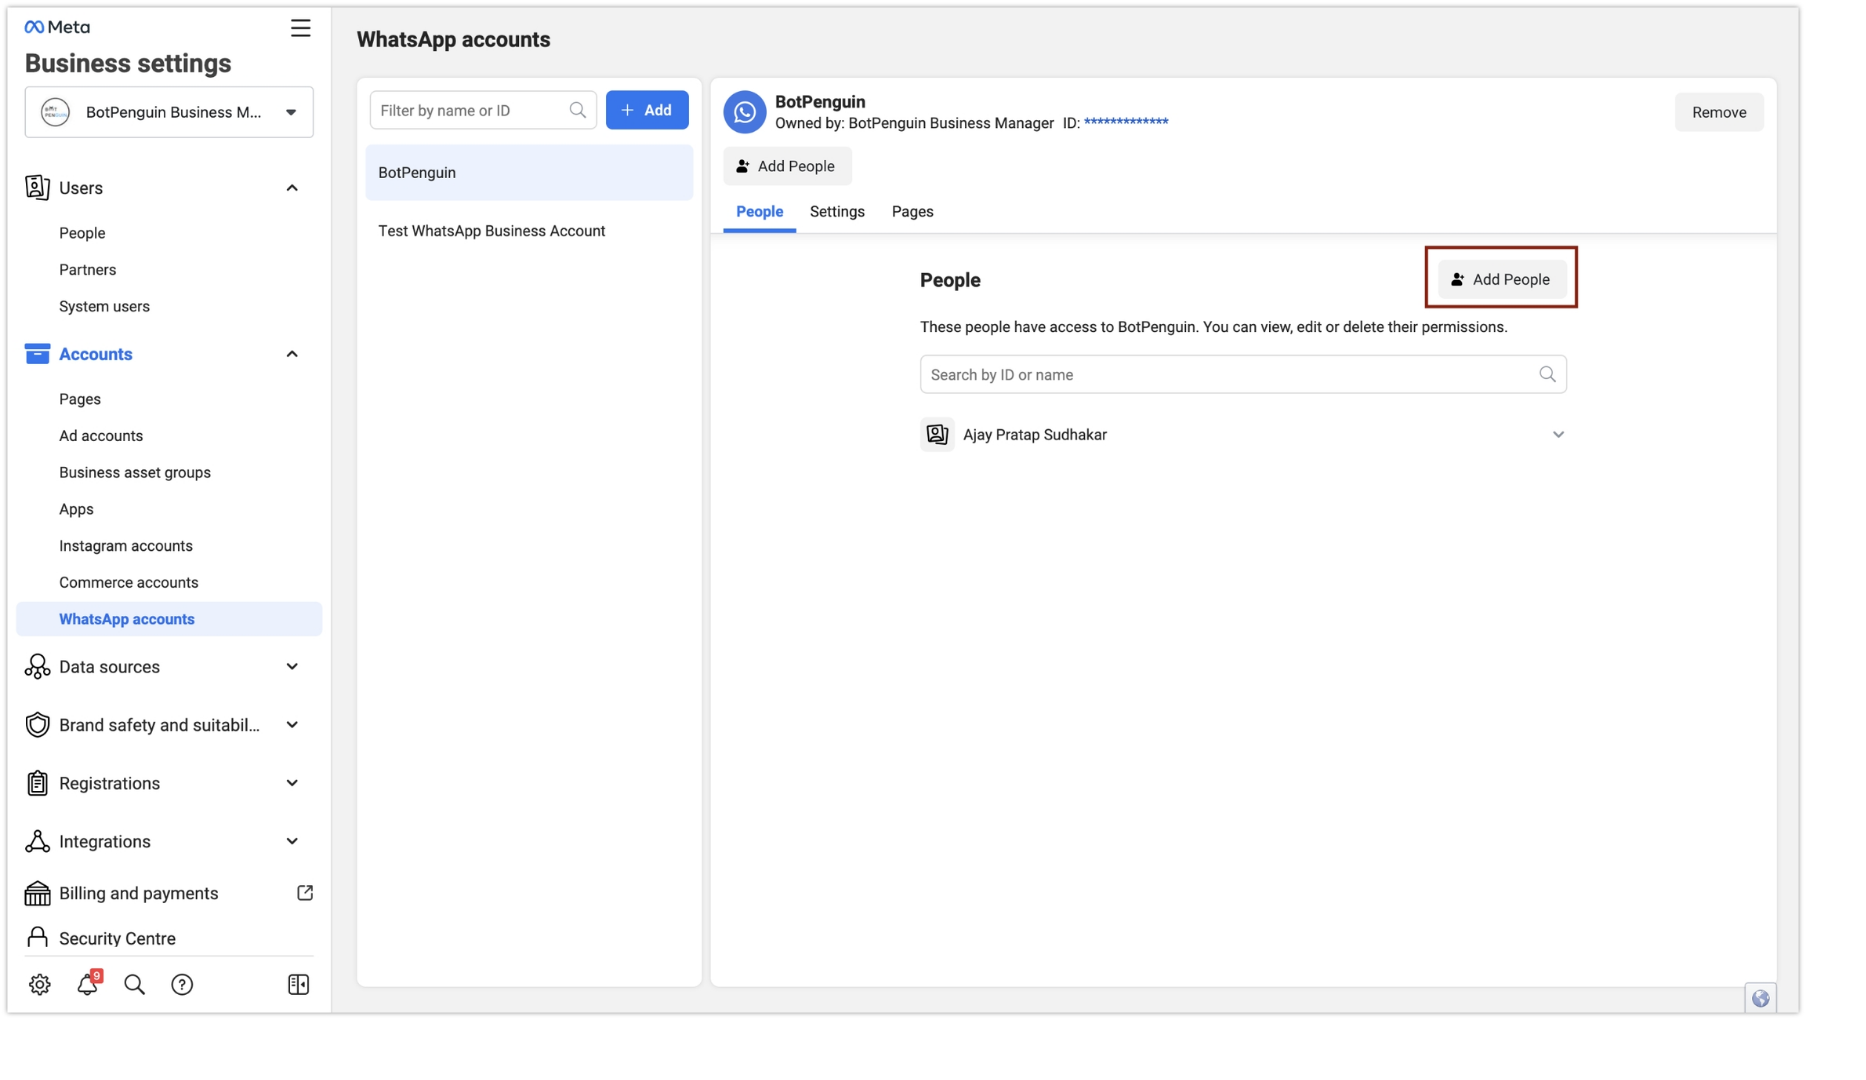
Step 5: Access WhatsApp Business Accounts
- In the Business settings page, navigate to the “Accounts” section.
-
Click on “WhatsApp Accounts.”

Step 6: Assign a System User
- On the WhatsApp Accounts page, you will see a gray “Add People” button. Click on it.
-
A list of available system users will appear.
Step 7: Assign Full Control
- Select the appropriate system user from the list.
-
Assign “Full control” permissions to the selected system user over the WhatsApp Business Account.