Phone Number Authentication Setup
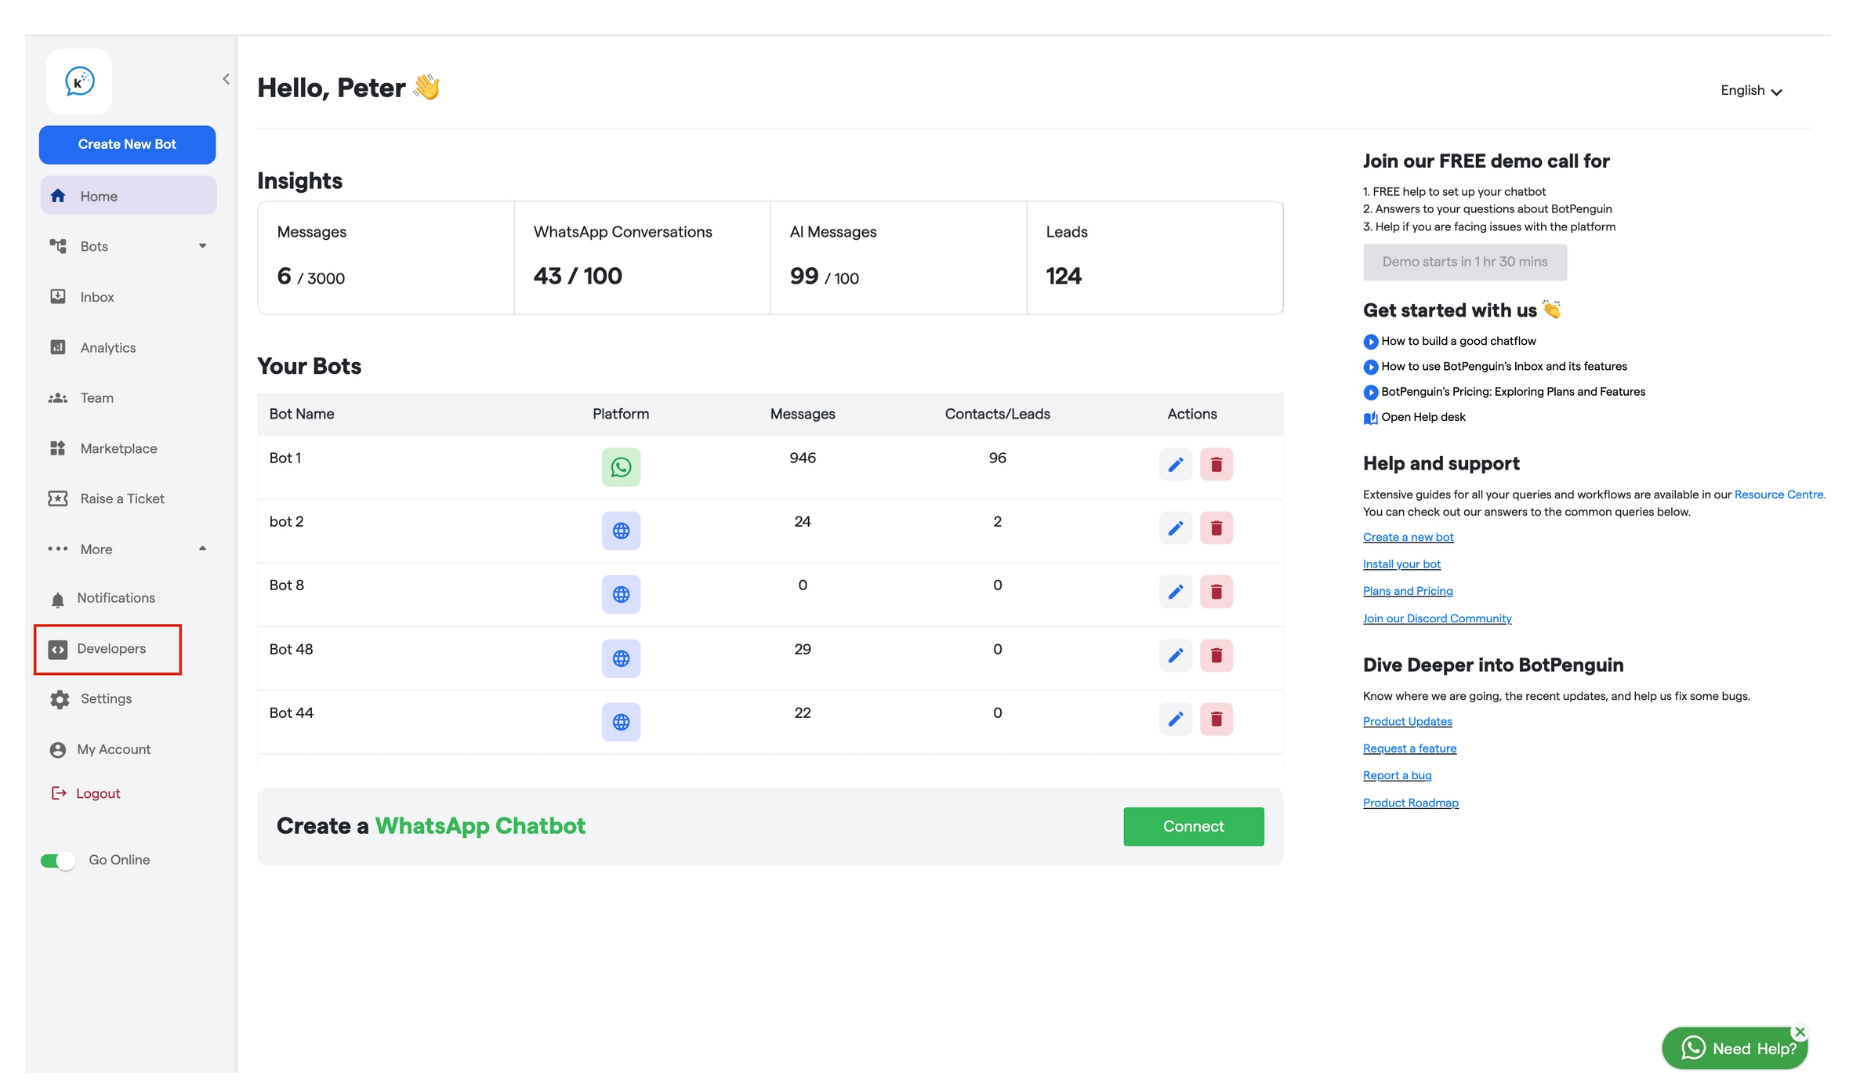
This guide walks you through integrating an API for phone number verification within your flow. You’ll set up two APIs—one to send the OTP and another to verify it. Follow these steps carefully. Step 1: Create the API for Sending OTP- Navigate to Developer Section
- Add a New API
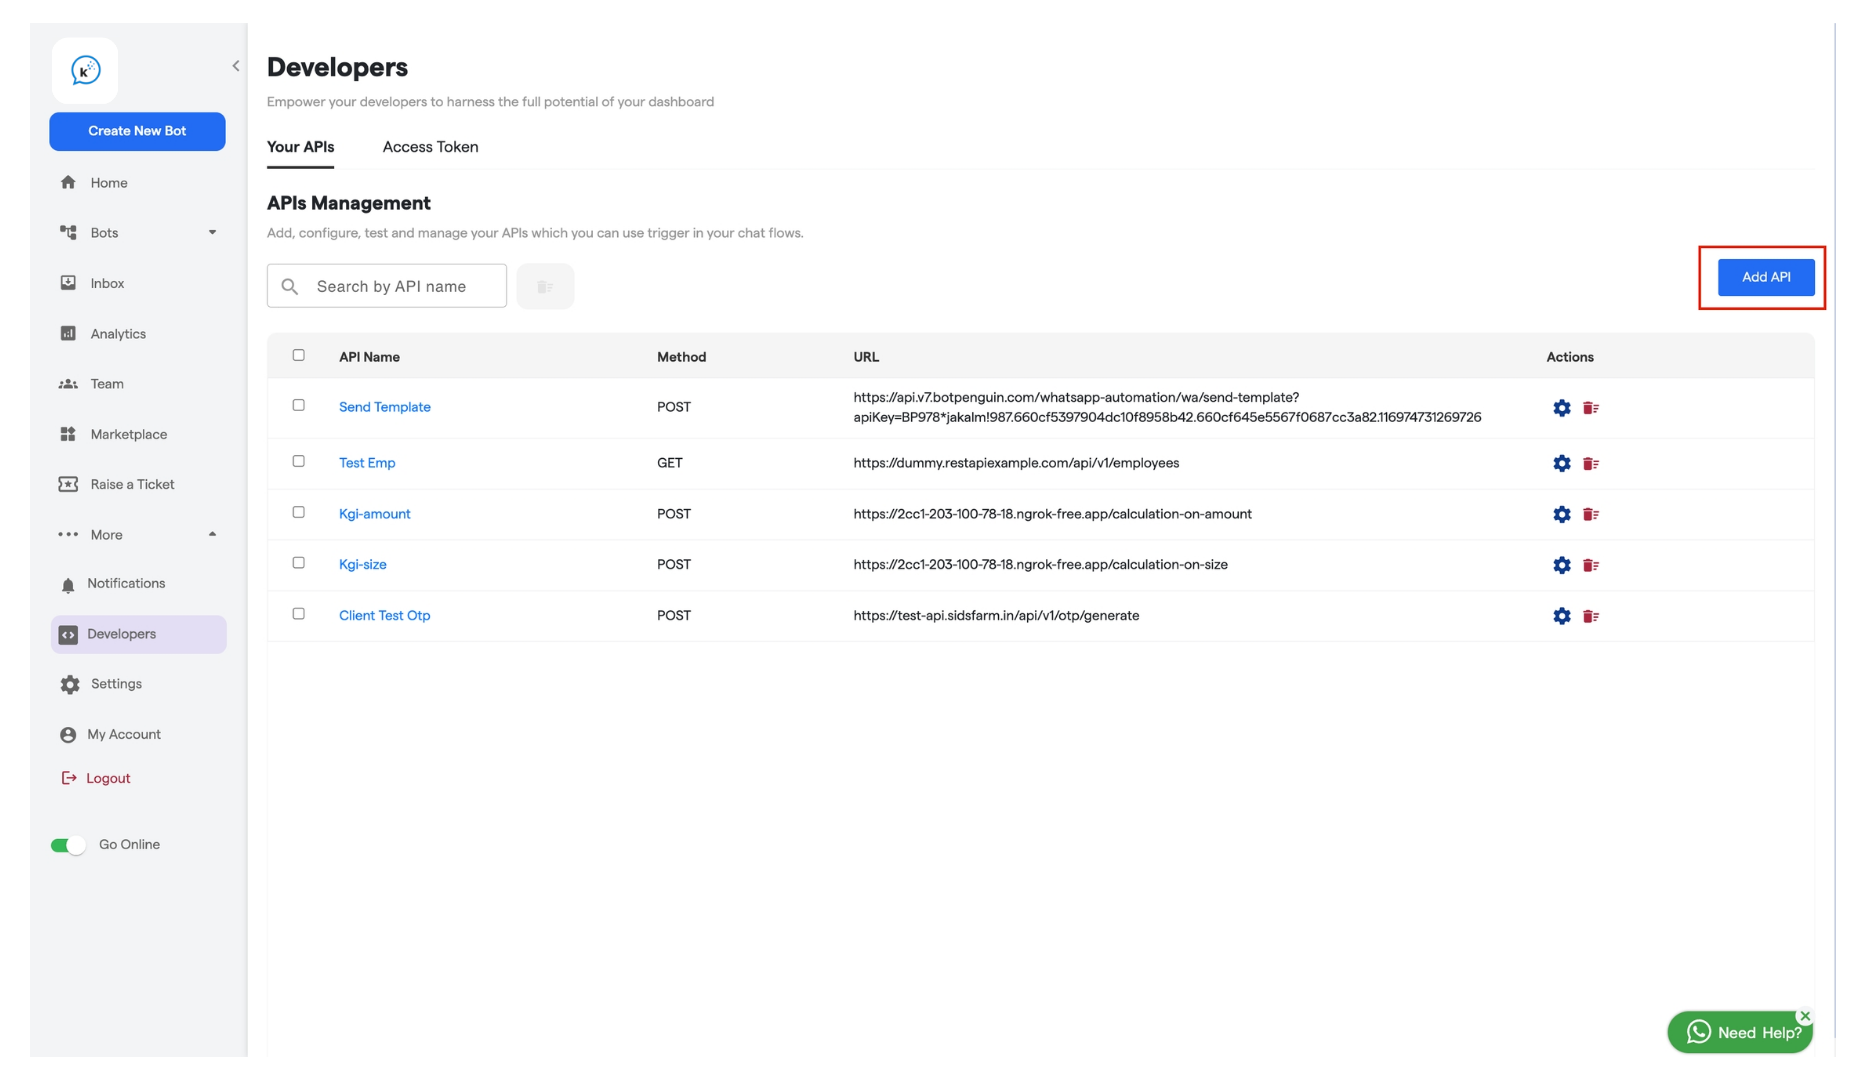
-
Enter an API Name (e.g., “Send OTP”).
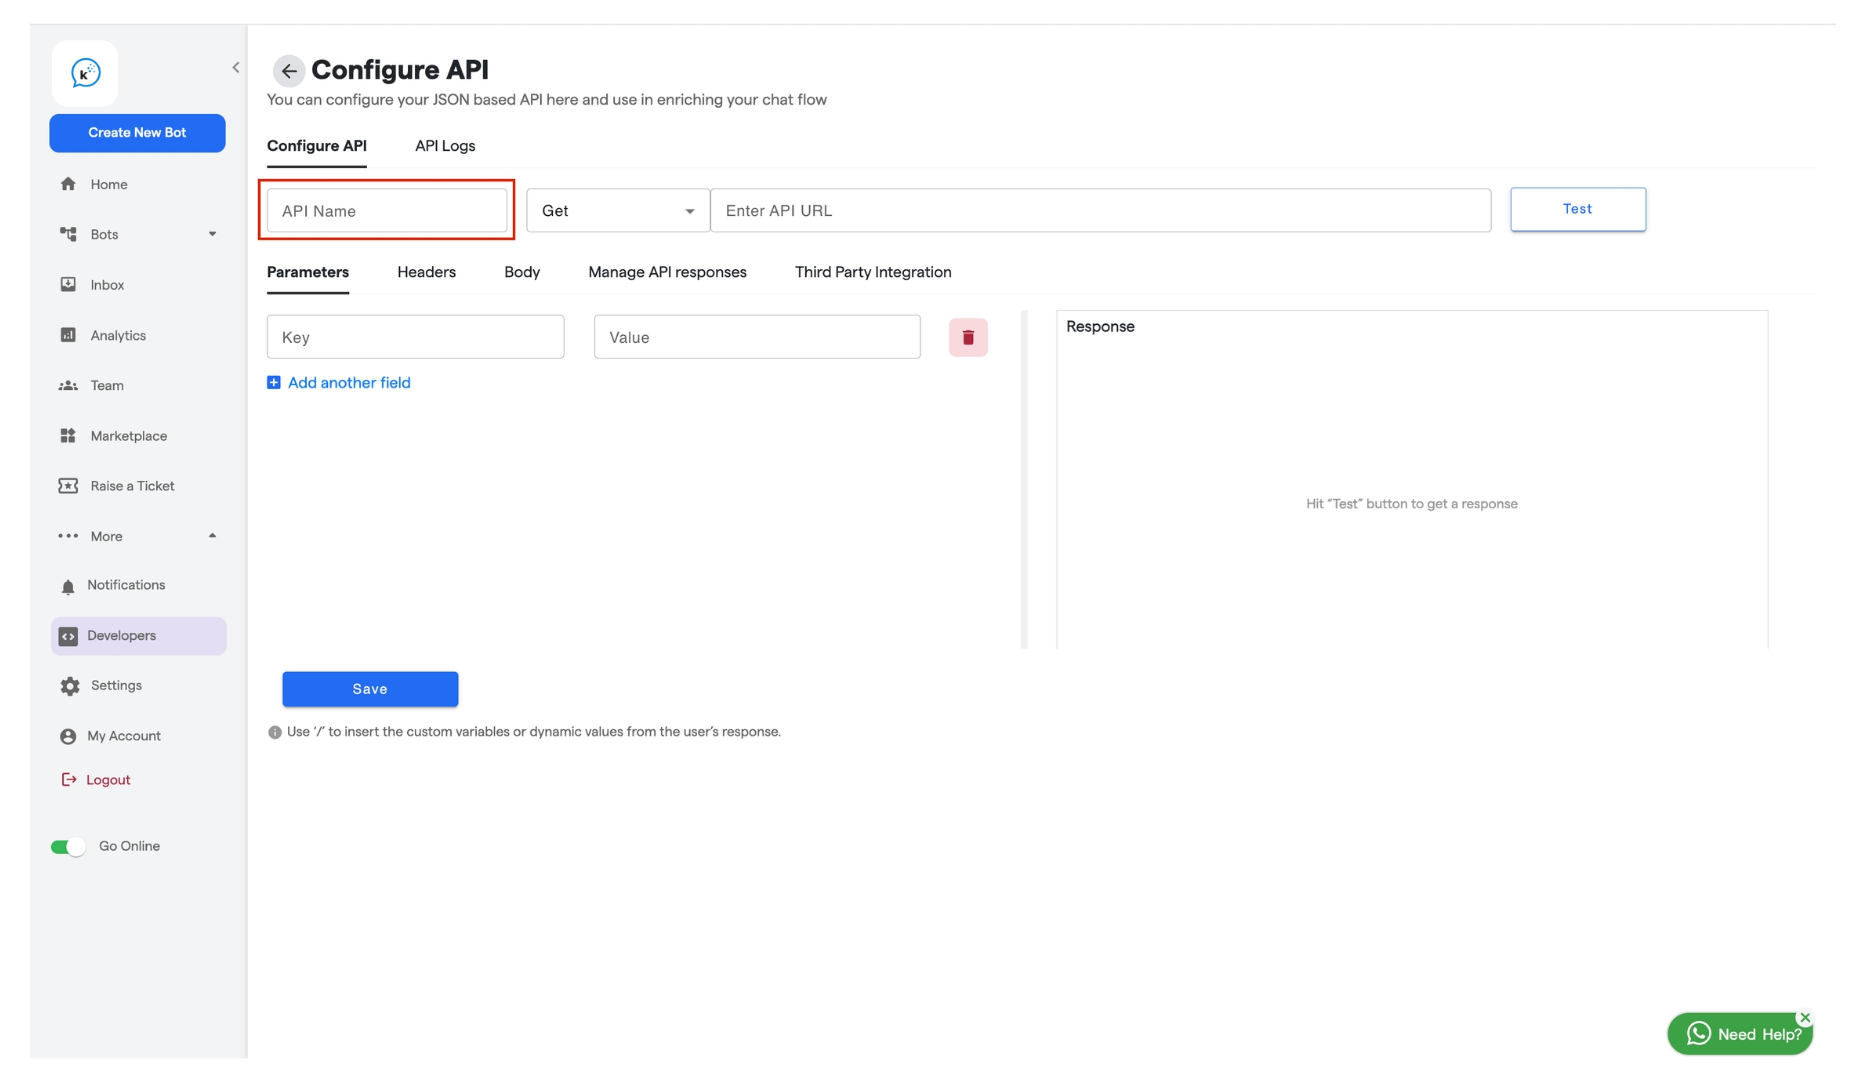
-
Configure API Details
-
Choose the appropriate Method from the dropdown that is POST
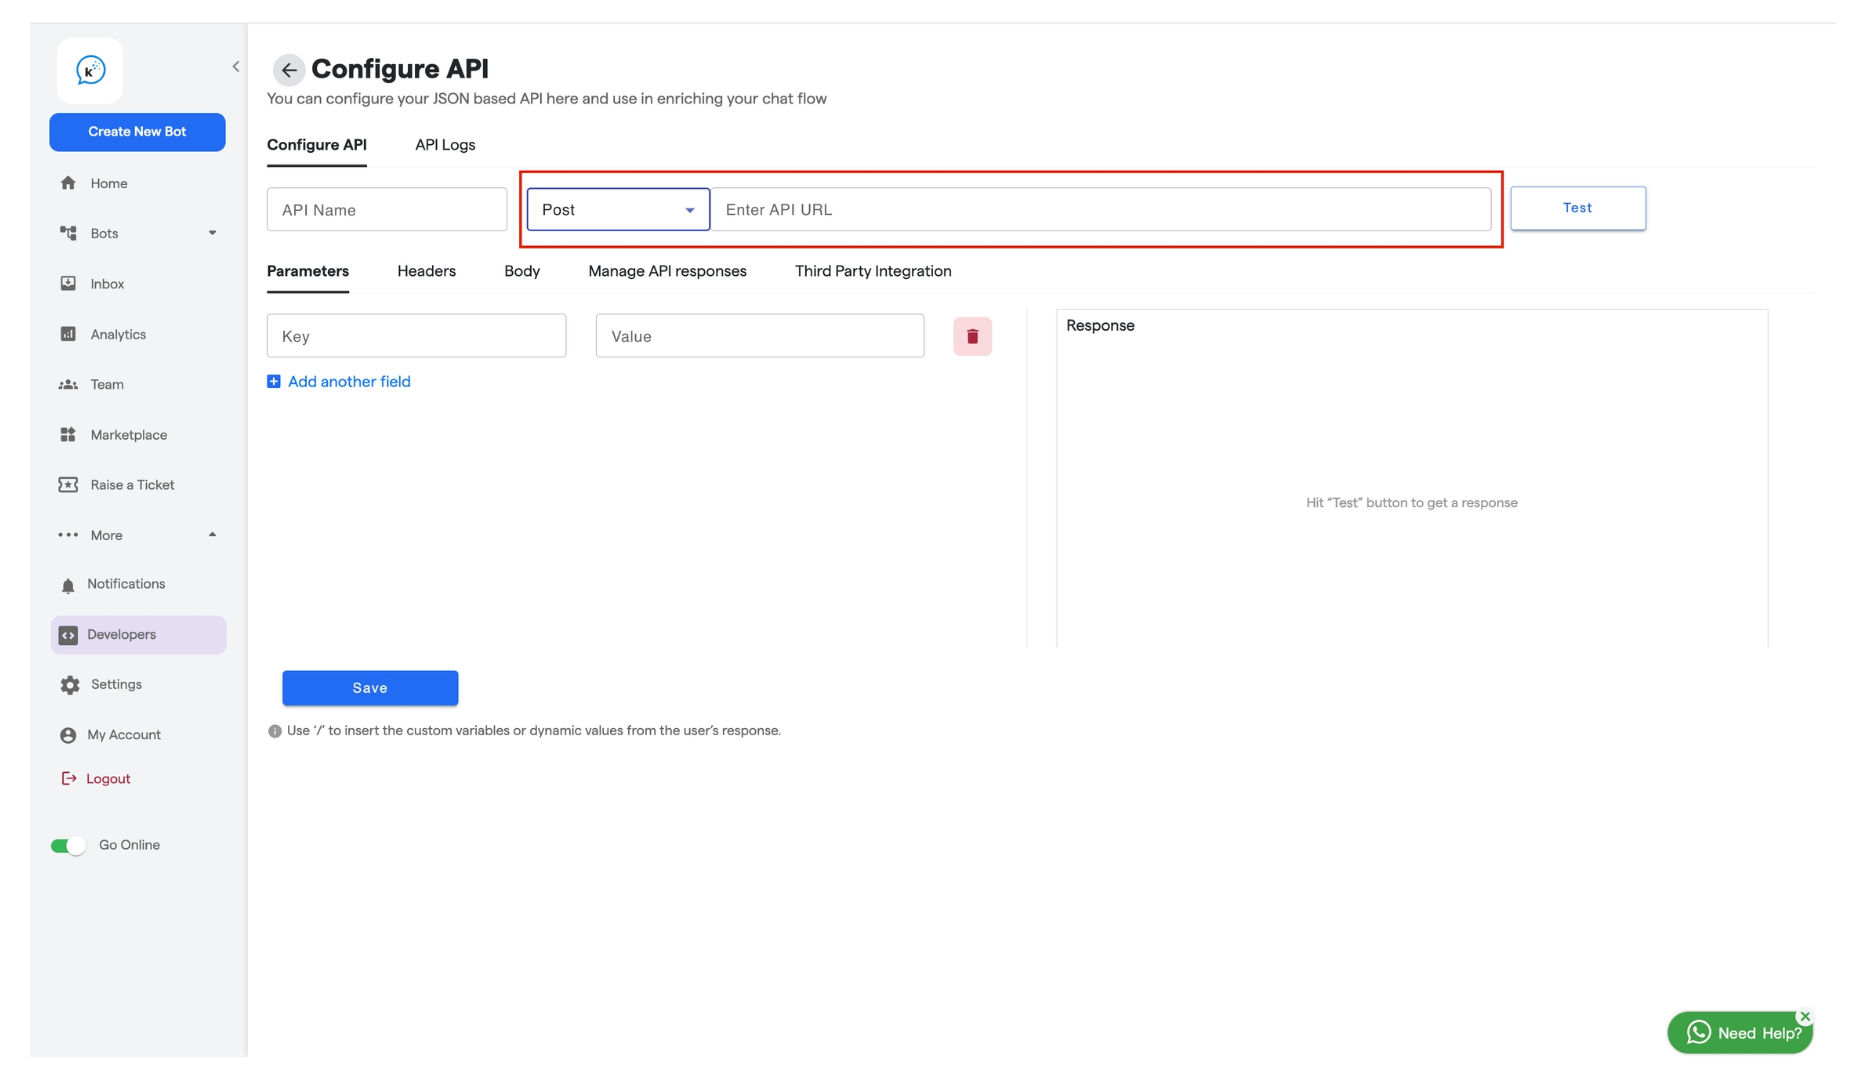
- In the API URL field, enter the API endpoint provided for sending OTP.
API : https://api.v7. Convertalk.com/integrations/custom-feature/send-otp-sms -
Choose the appropriate Method from the dropdown that is POST
-
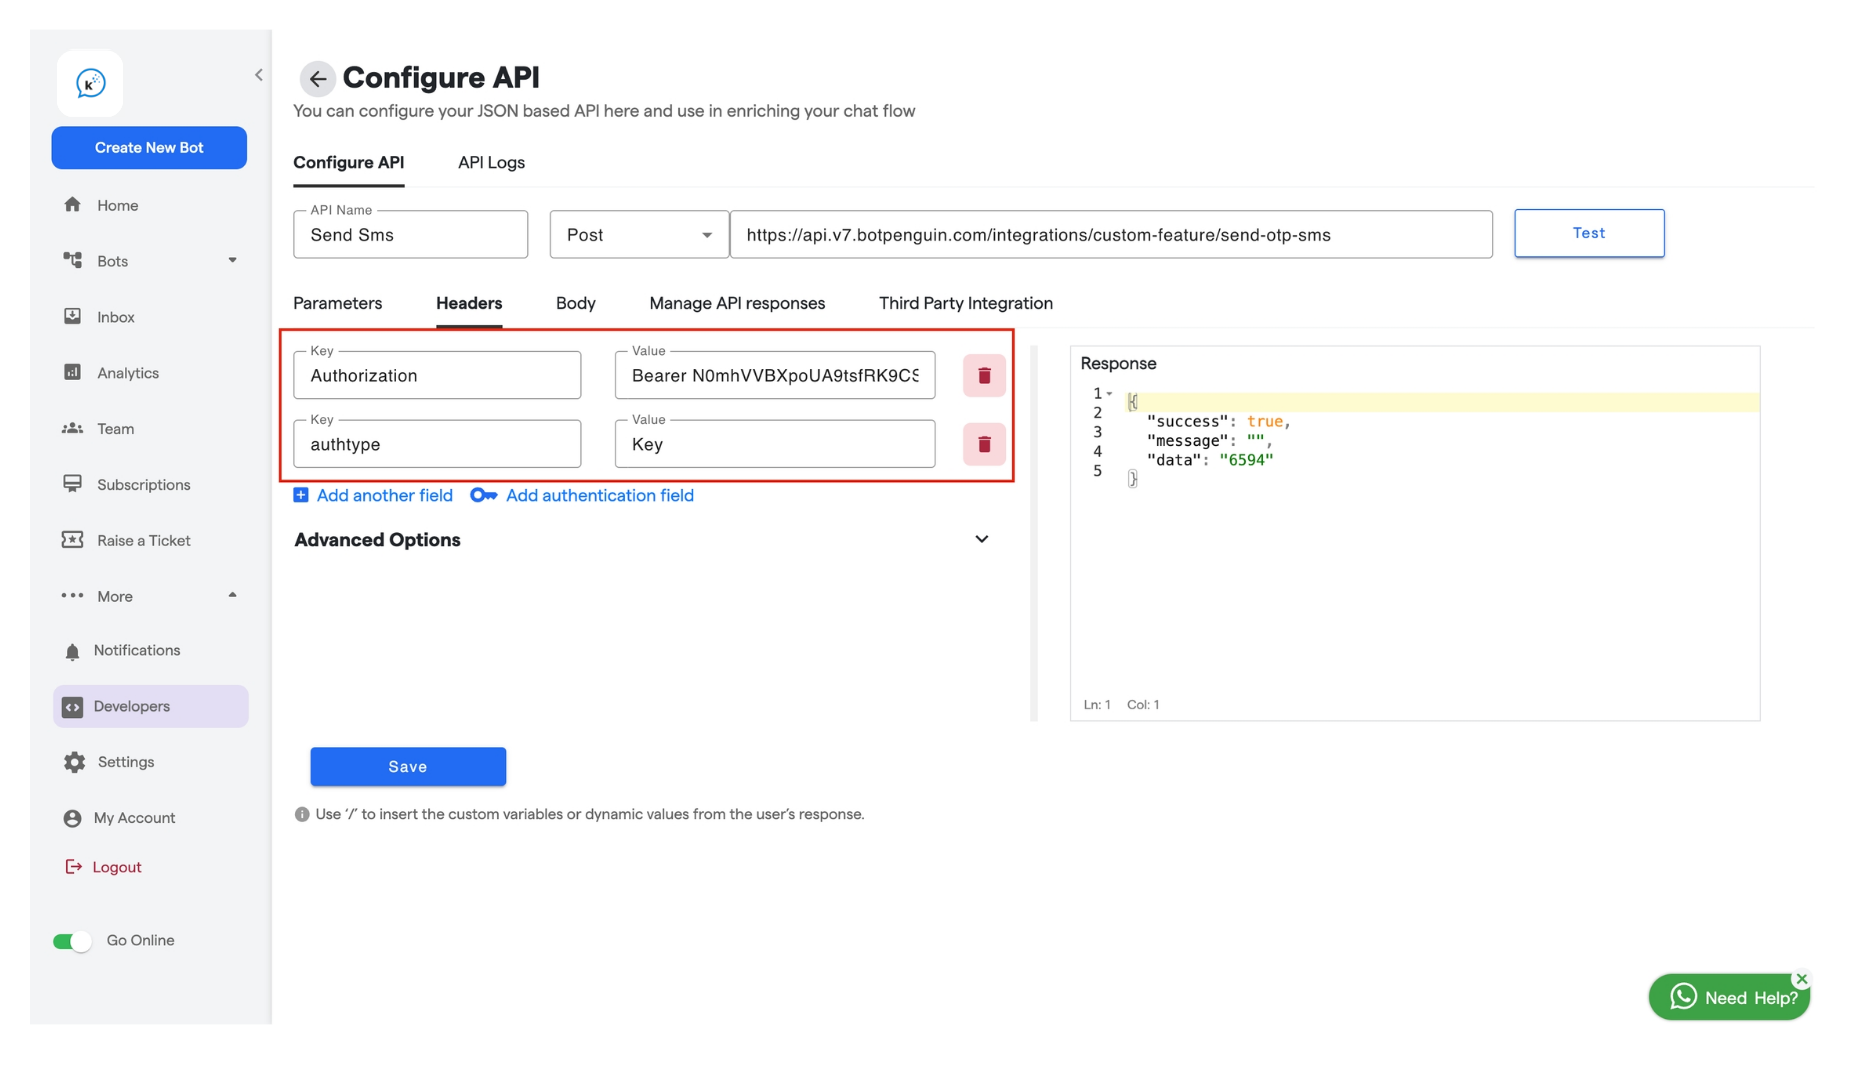
Set Headers
- Go to the Headers section.
-
Add the required authorization fields:
- Authorization Key: Enter the authorization key provided by the service.
- Value: Your token or key.
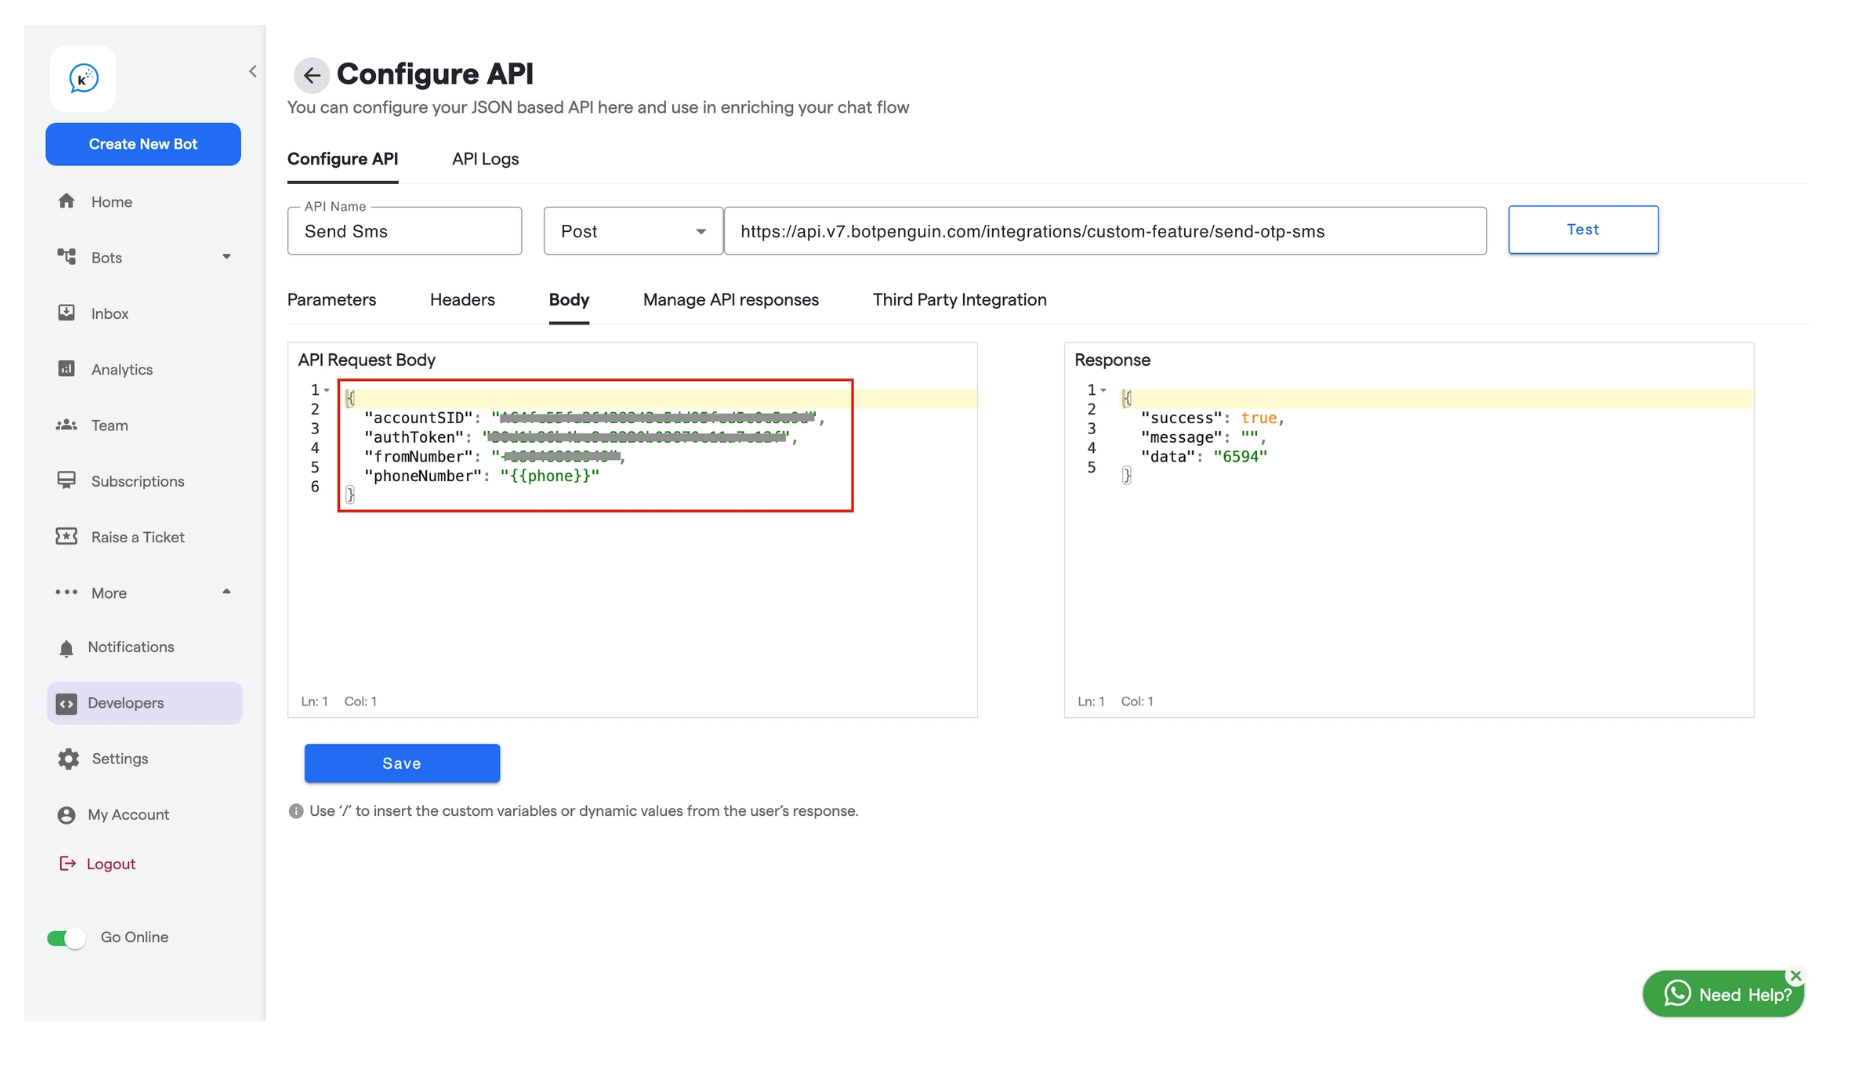
- Define Request Body Parameters
-
In the Body section, enter the parameters as shown in the screenshot:
- accountSID: Obtain from Twilio.
- authToken: Obtain from Twilio.
- fromNumber: Your Twilio phone number.
- toNumber: Map this to the user’s phone number attribute.
-
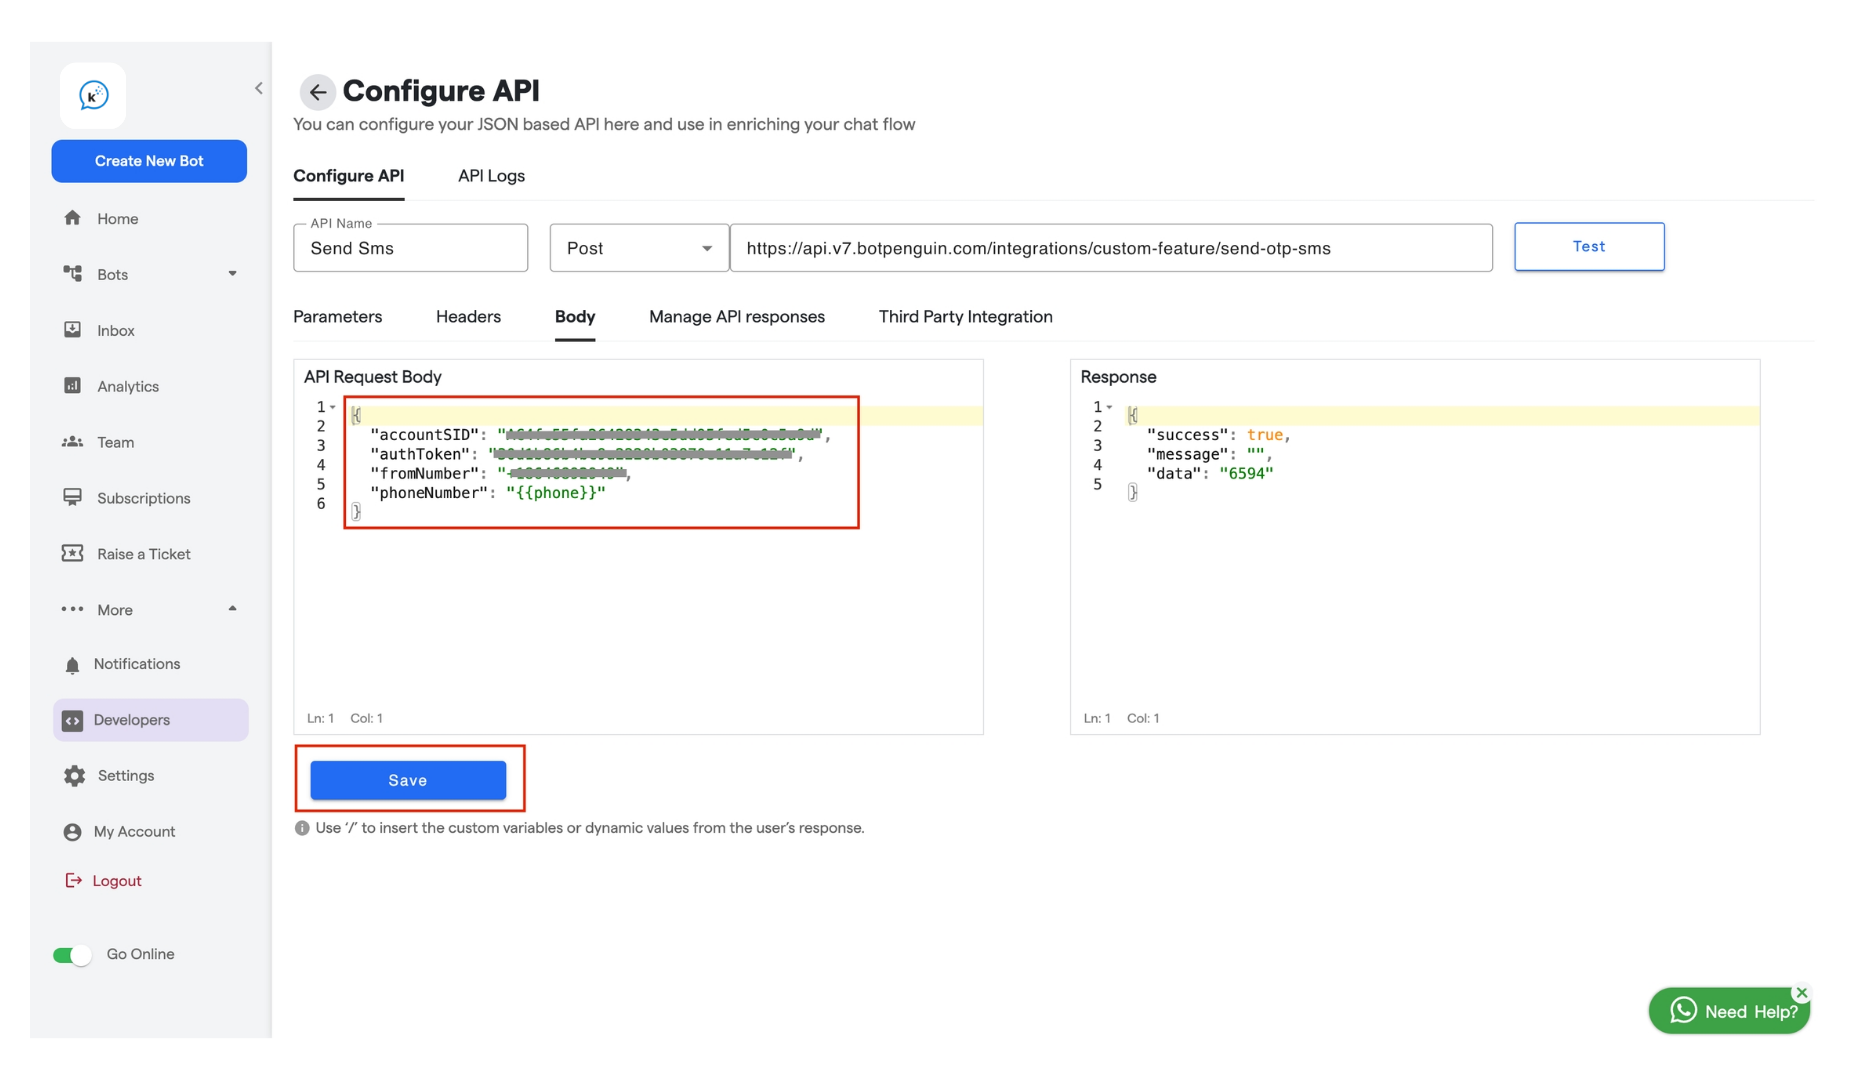
Save API
- Click Save to store the API configuration.
-
Map Phone Number Attribute
- In the Attributes section, select the user’s phone number attribute.
- Save Custom Attribute
-
In the Manage API Response section, choose Save to Custom Attribute.
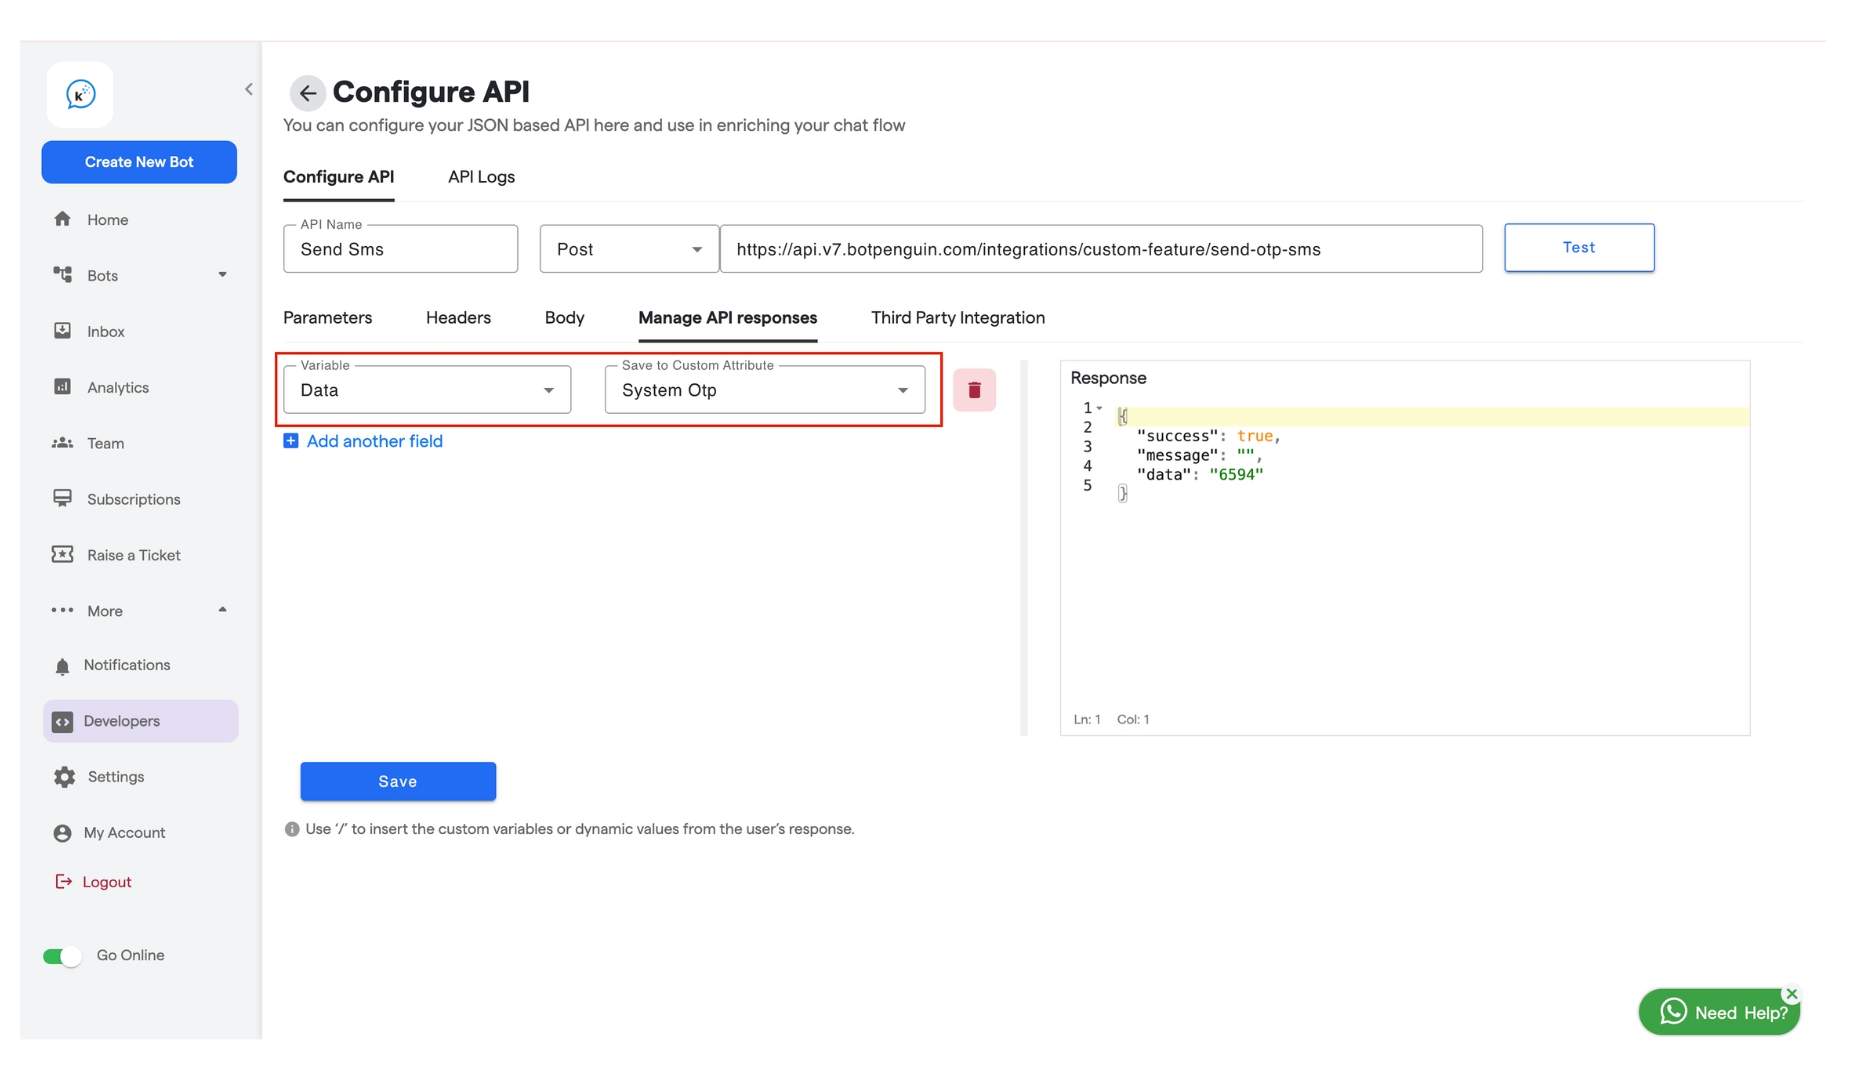
- If not already created, create a custom attribute to store the verification status or OTP code.
- In the Attributes section, select the user’s phone number attribute.
- Add Another API for OTP Verification
- Click Add API again.
-
Name this API (e.g., “Verify OTP”).
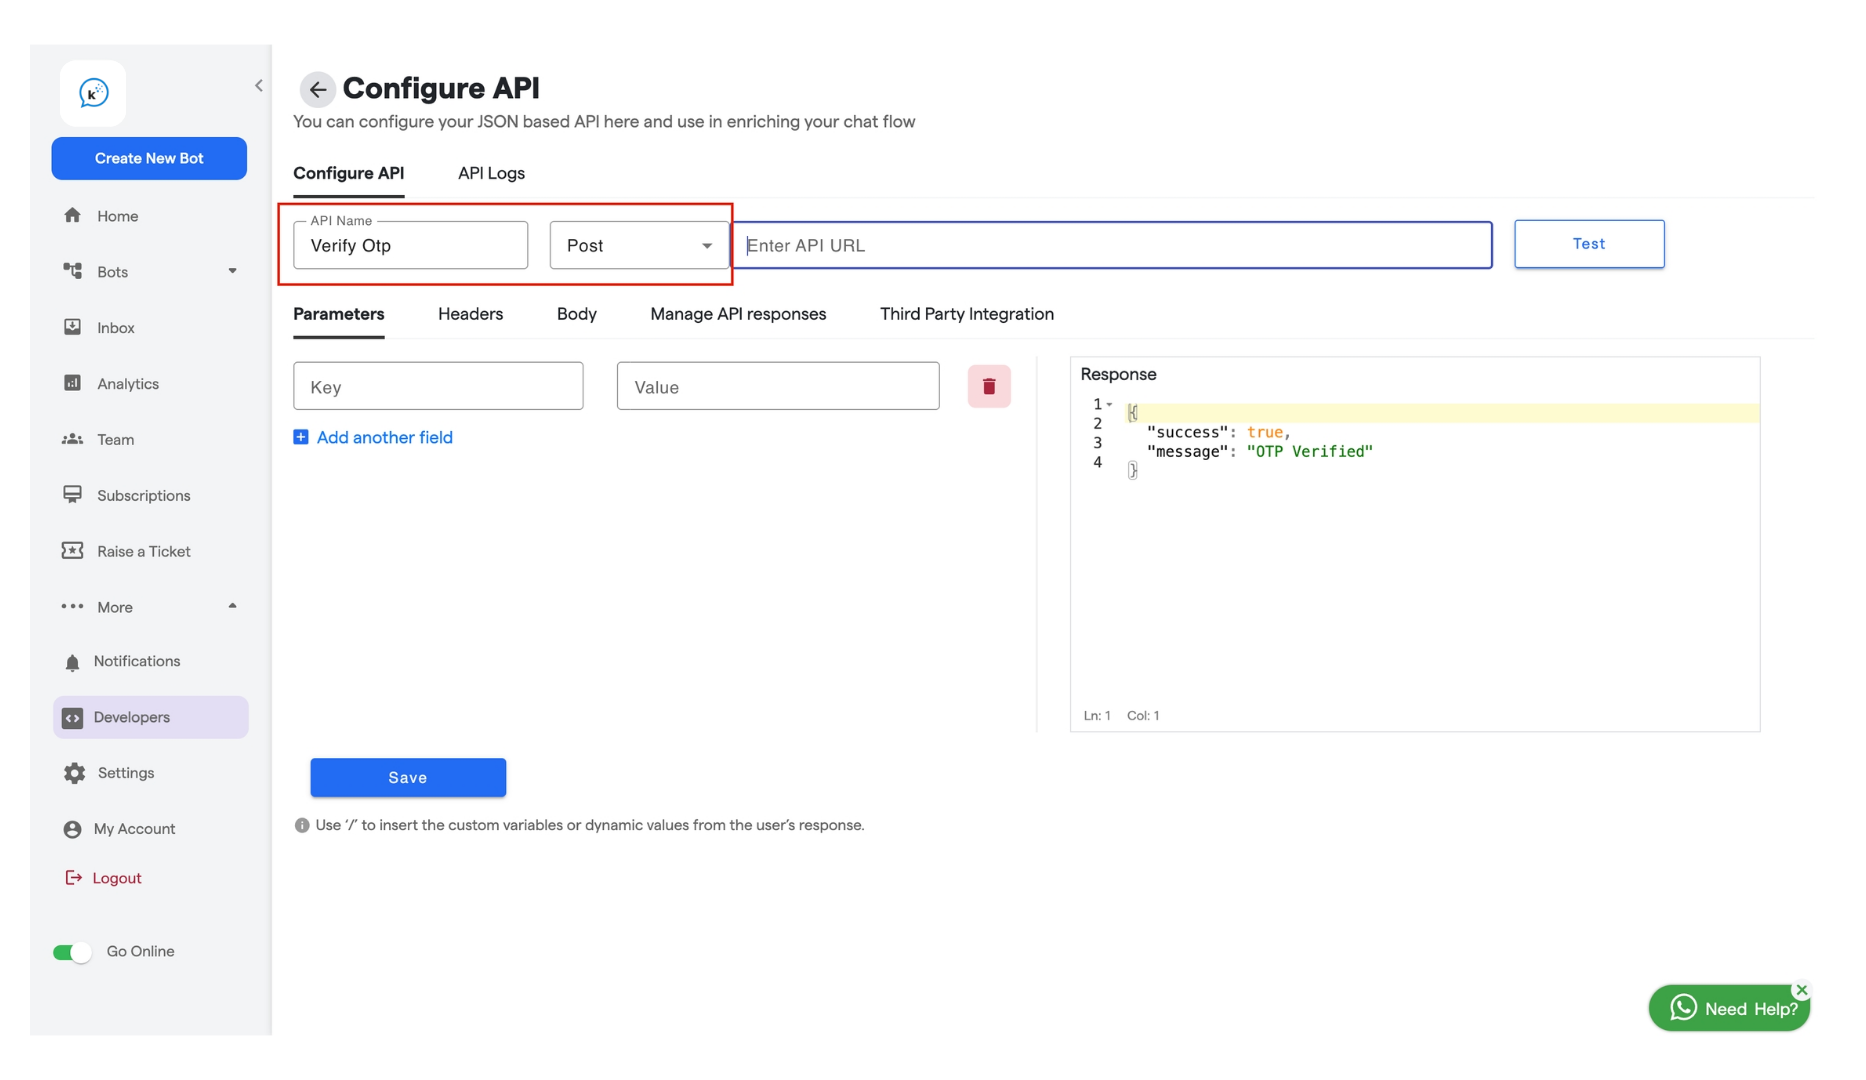
- Set Method and URL
- Choose the appropriate Method (POST).
-
Enter the API URL for verifying OTP.
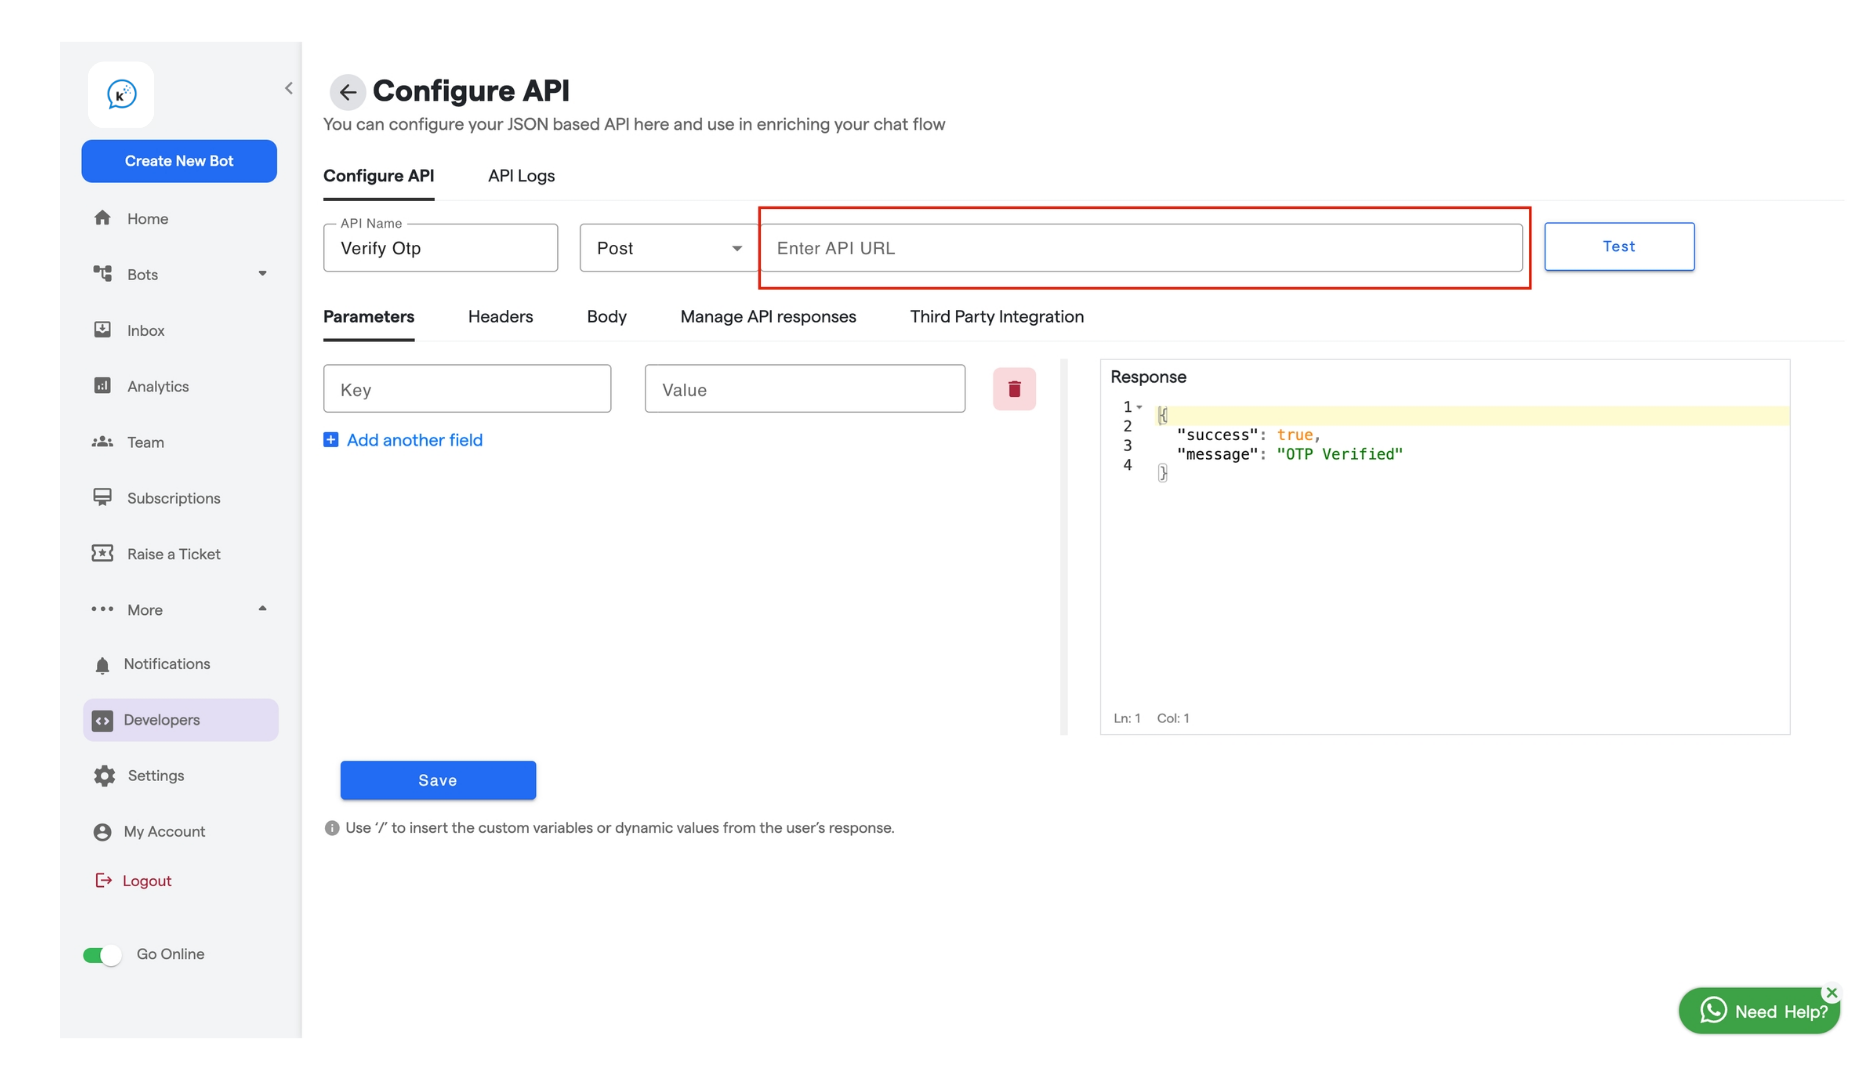 API : https://api.v7. Convertalk.com/integrations/custom-feature/verify-user-otp
- Set Headers
-
Fill in the header details similar to Step 1.

-
Fill in the header details similar to Step 1.
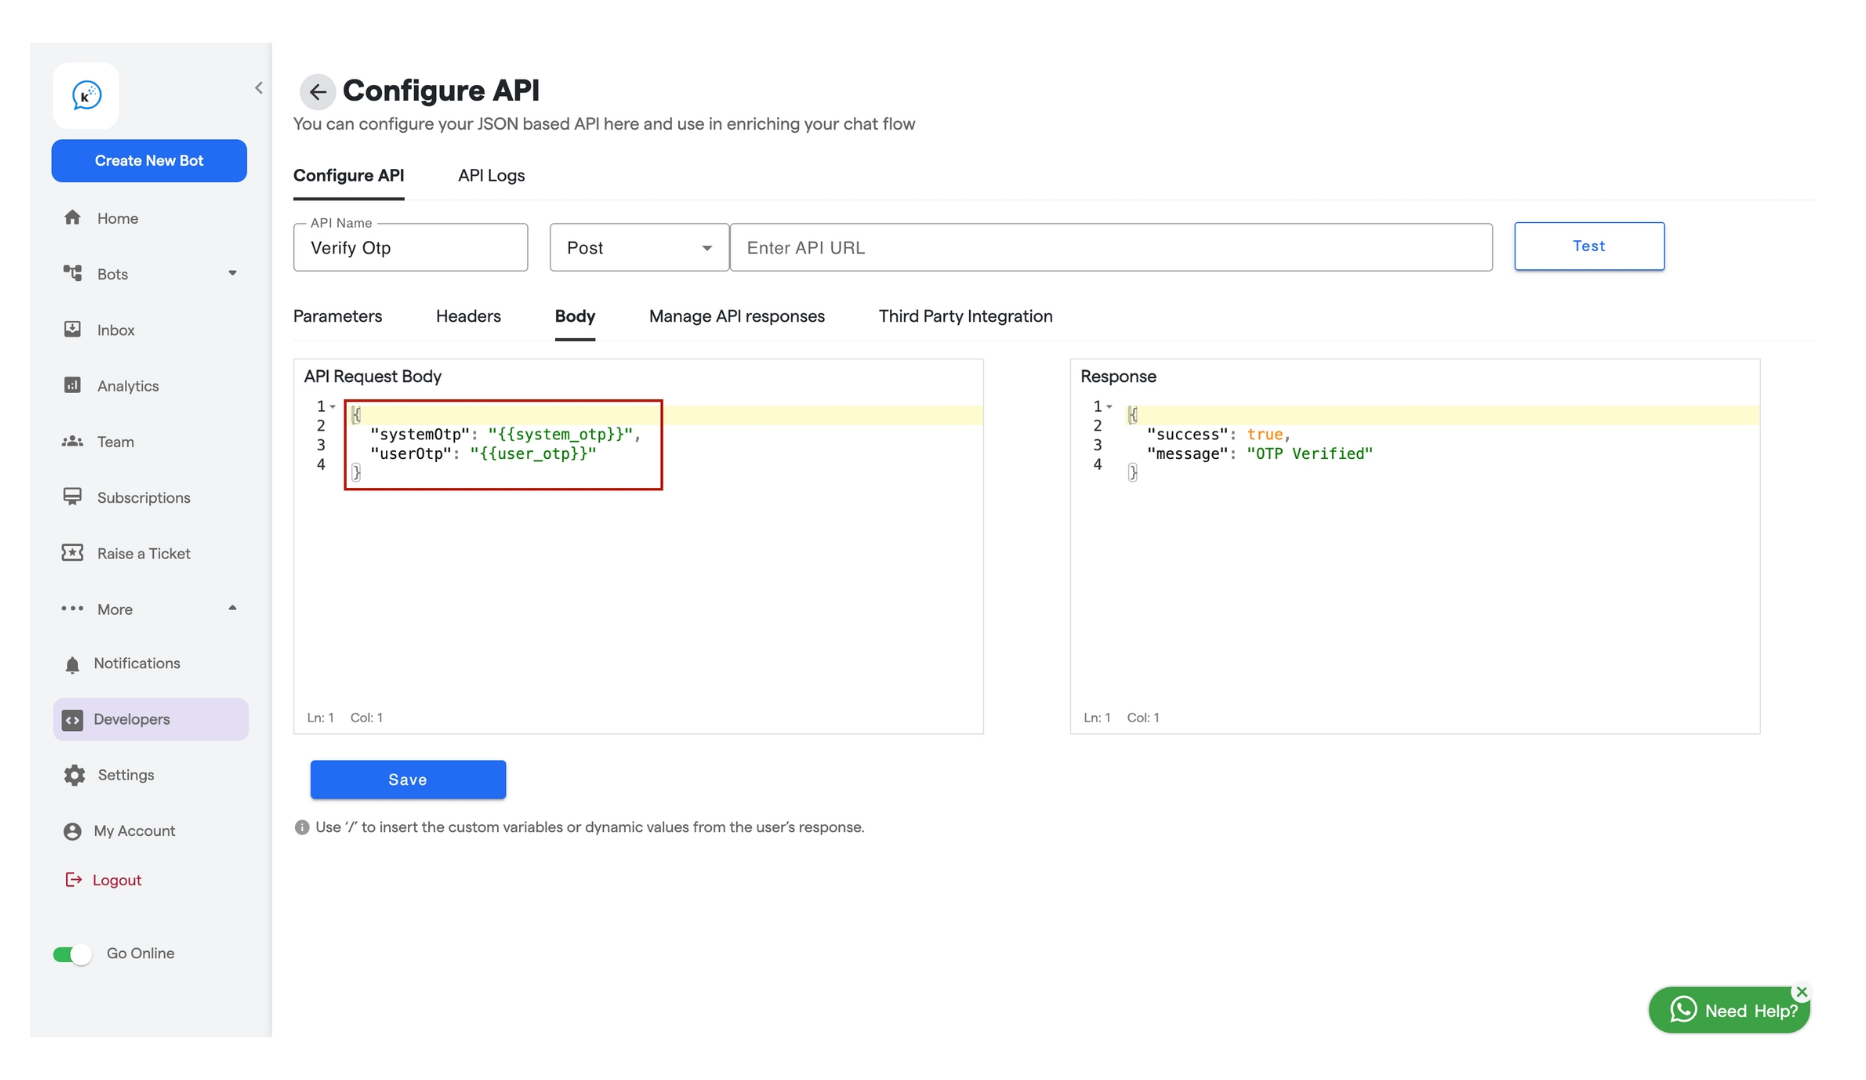
- Define Request Body Parameters
-
In the Body section, pass:
- systemOtp: The OTP sent to the user.
- userOtp: The OTP entered by the user.
-
In the Body section, pass:
- Save API
-
Click Save.
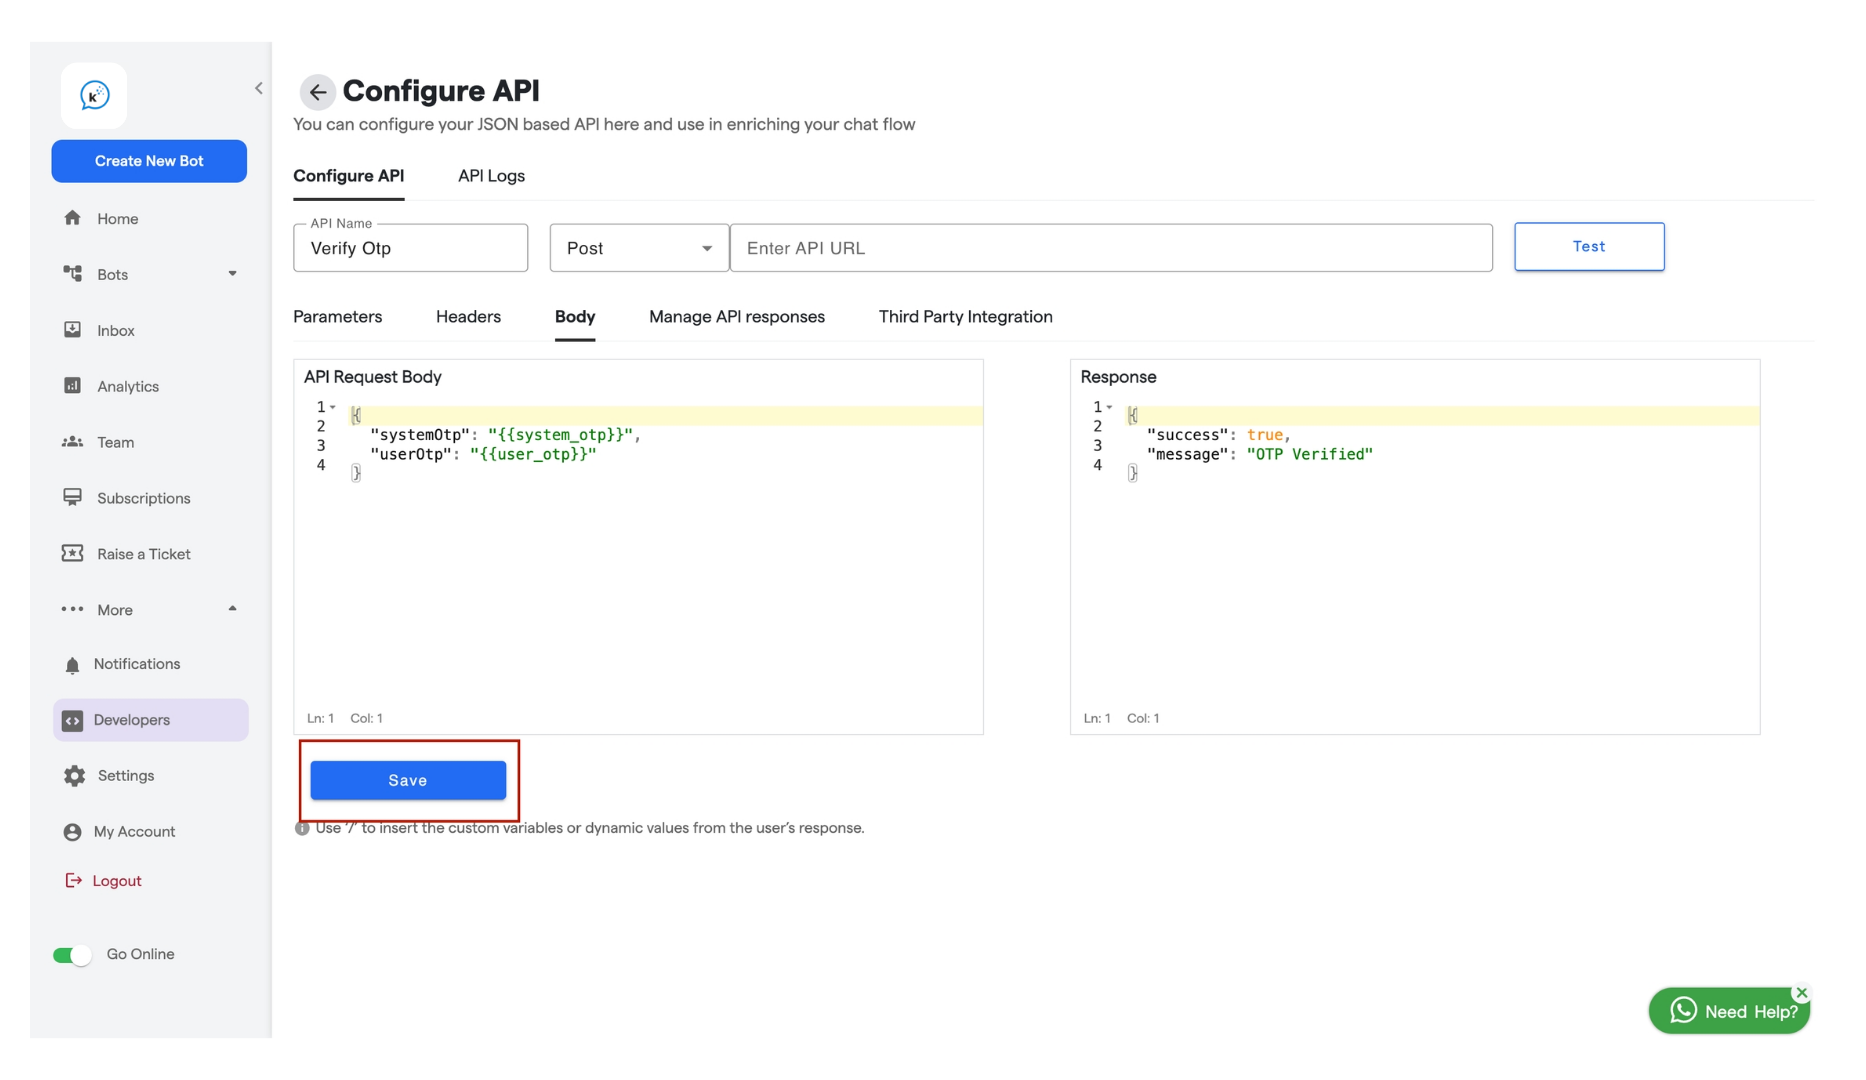
-
Click Save.
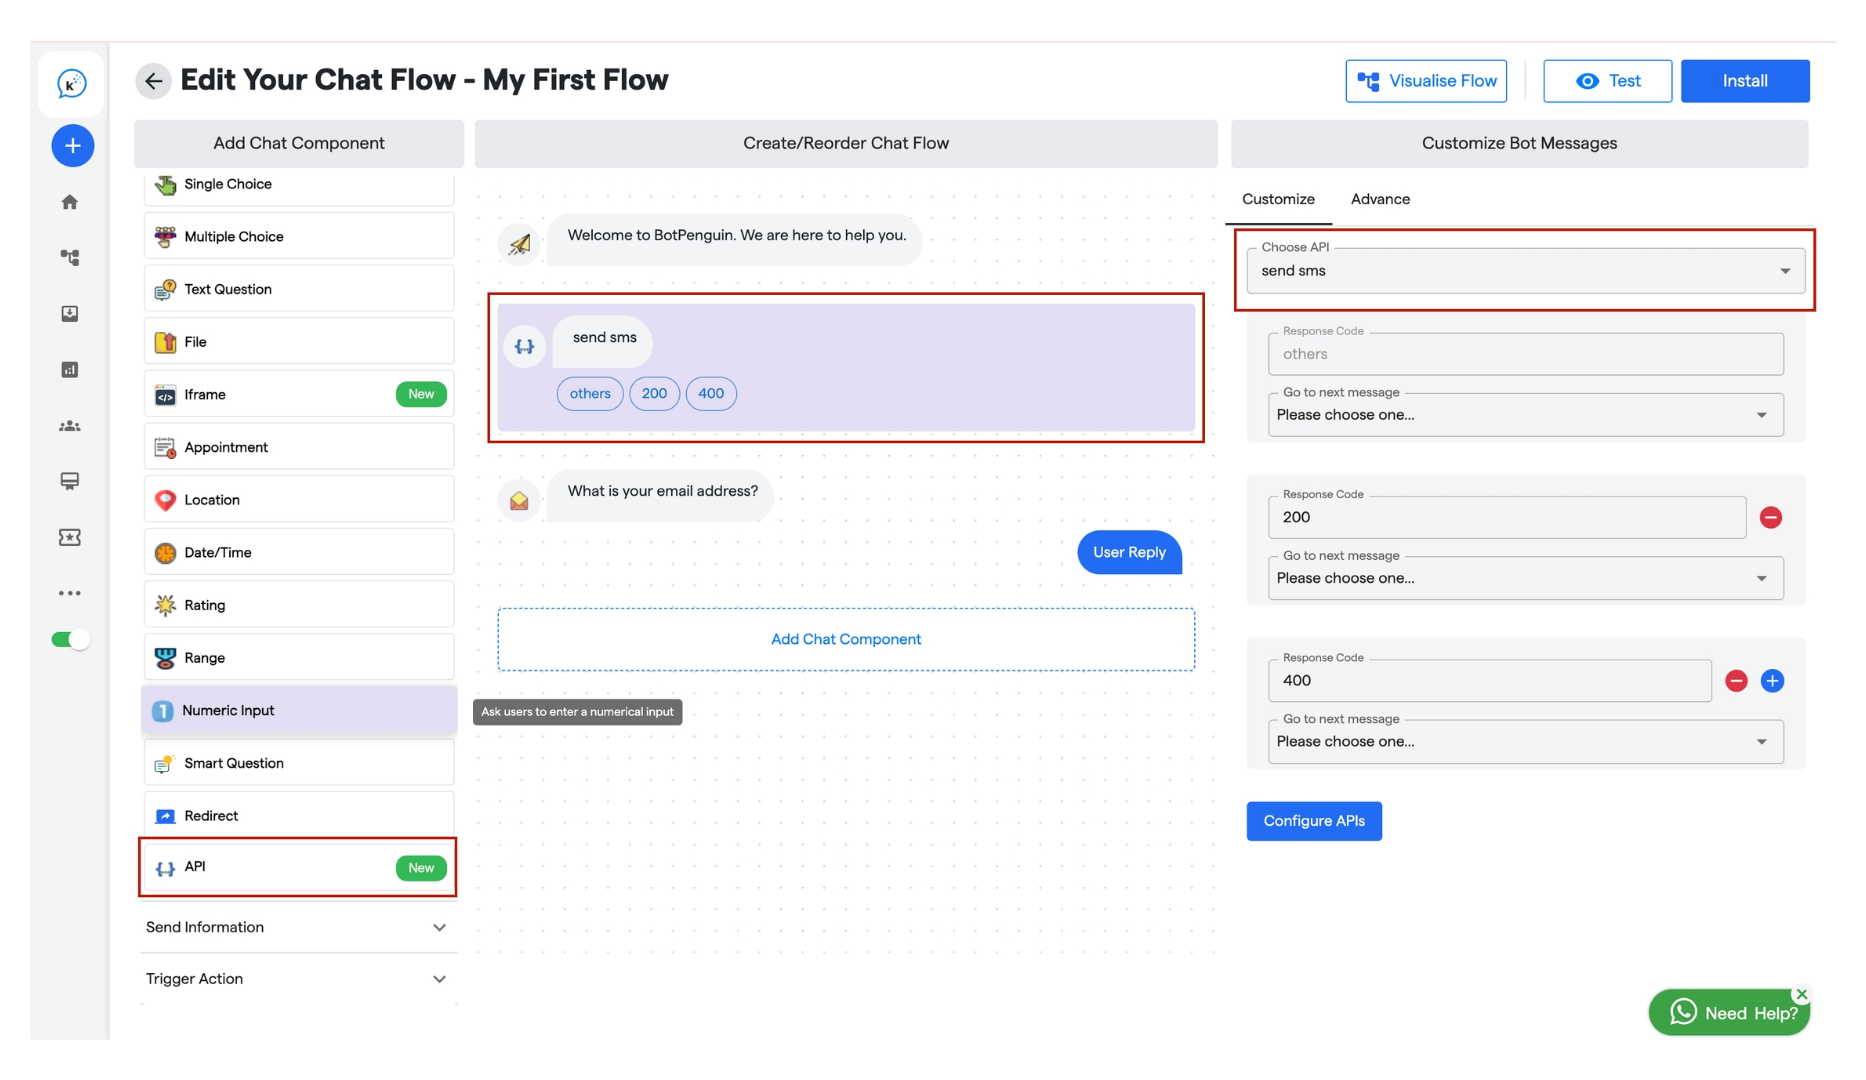
Step 3: Integrate APIs into the Chat Flow
- Edit the Chat Flow
-
Go to Edit Flow and open the chat flow you want to edit.
-
Go to Edit Flow and open the chat flow you want to edit.
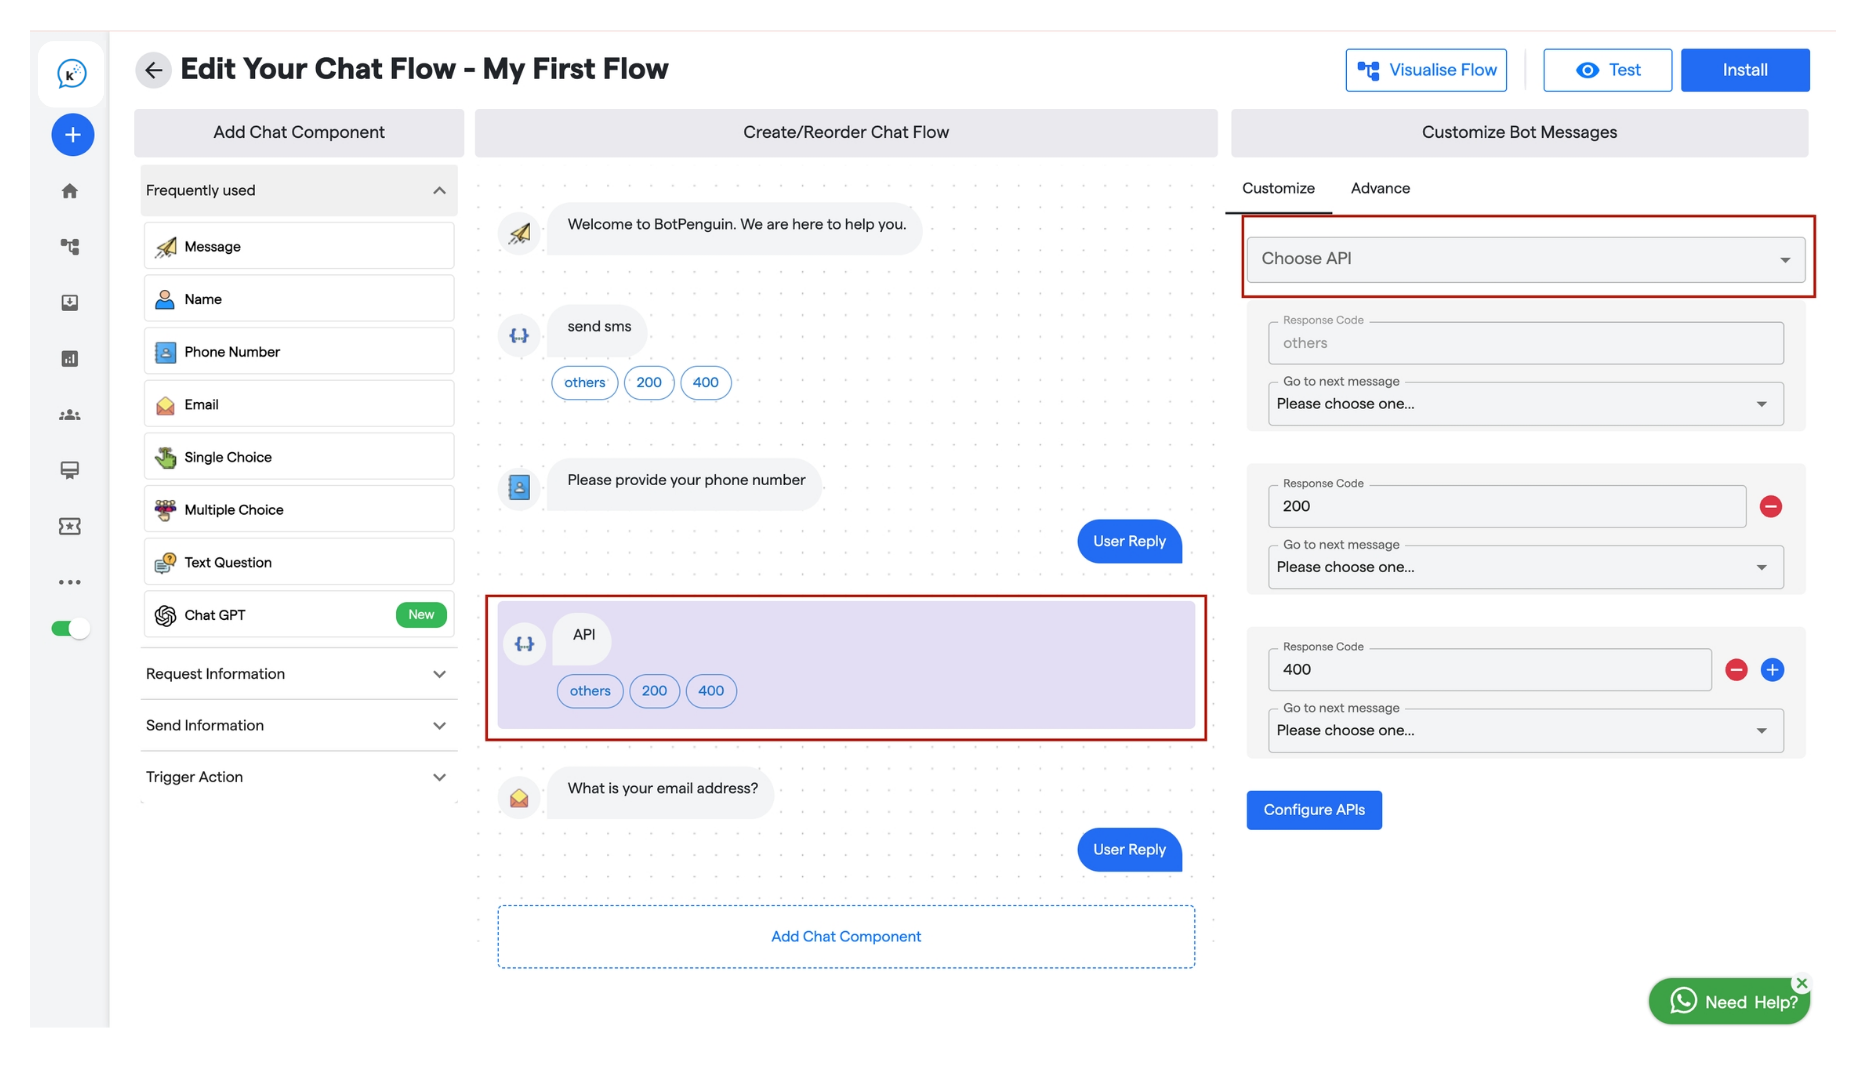
- Add API Components
-
Send OTP API:
- Add the API component and select the API created in Step 1.
-
Add a component to capture the user’s phone number.

-
Add the API component again and select the Verify OTP API from Step 2.
- Add Delays
-
Add a delay of 5 seconds between sending and verifying OTP, and 2 seconds if re-verifying.
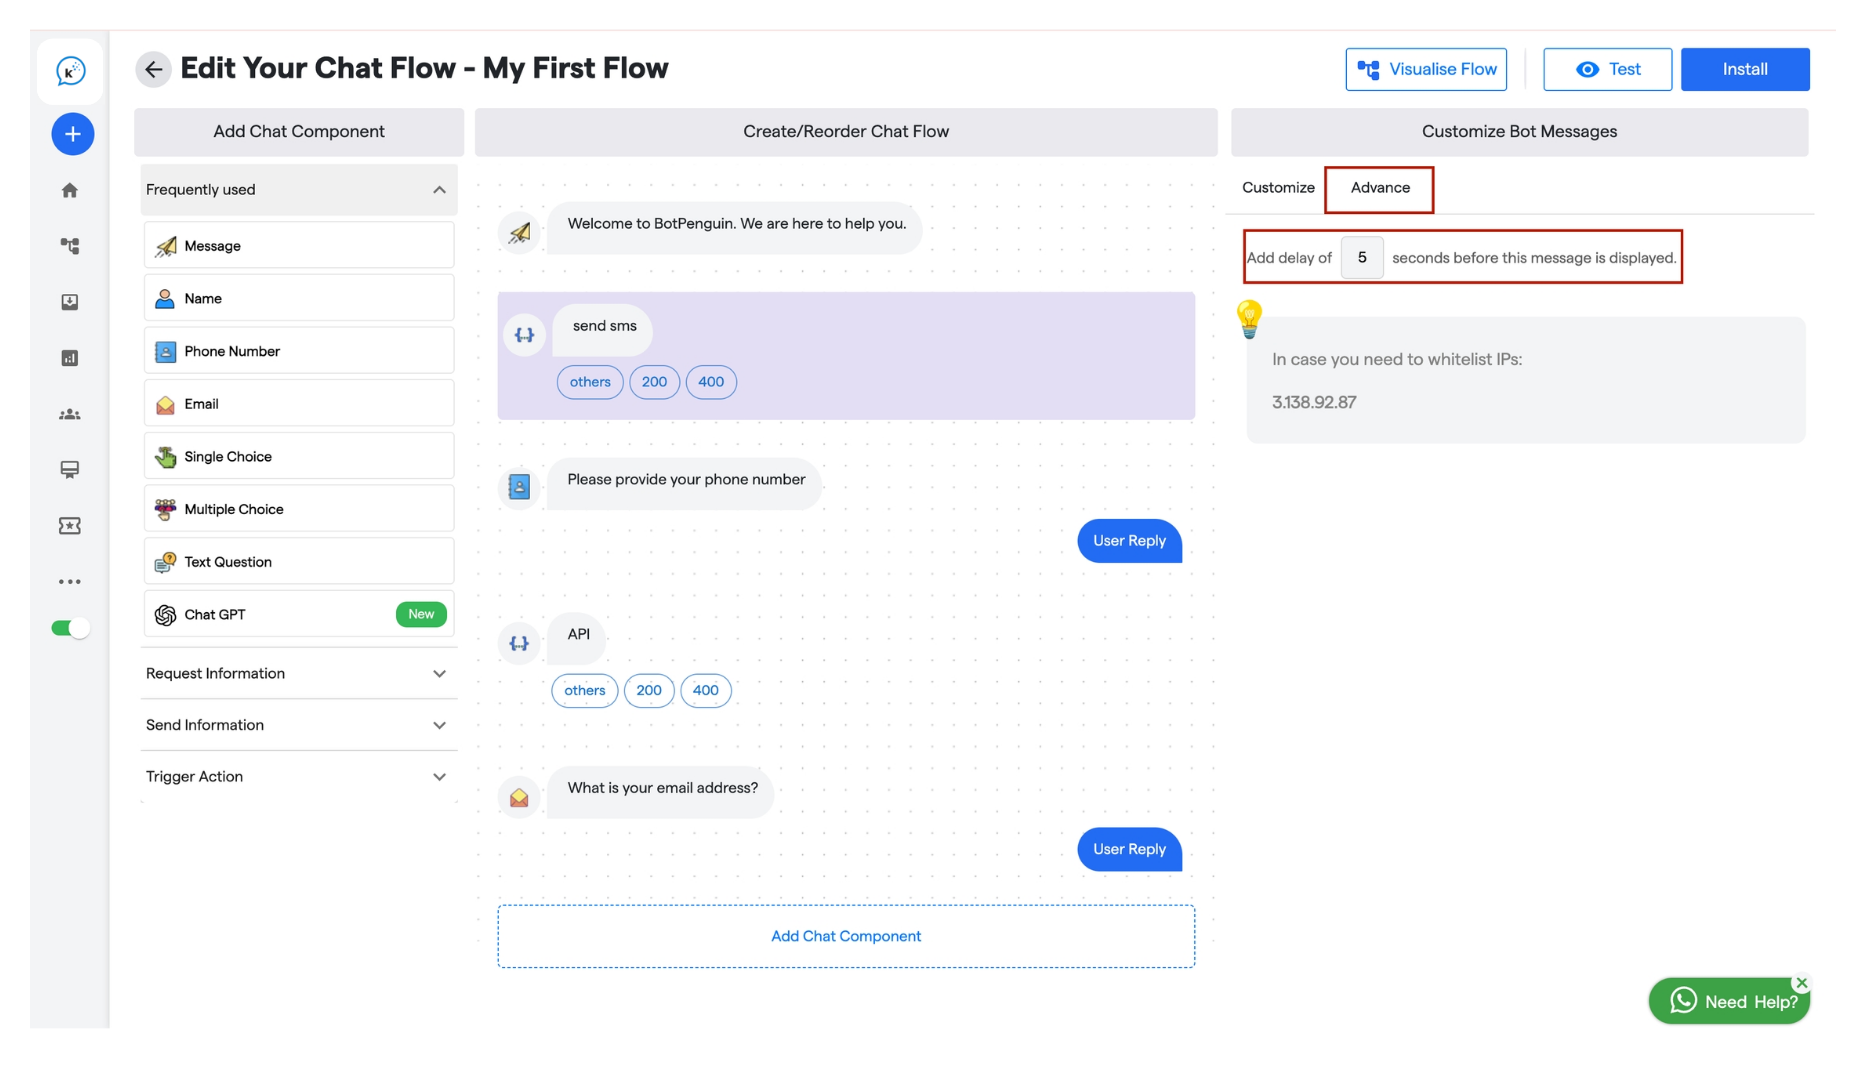
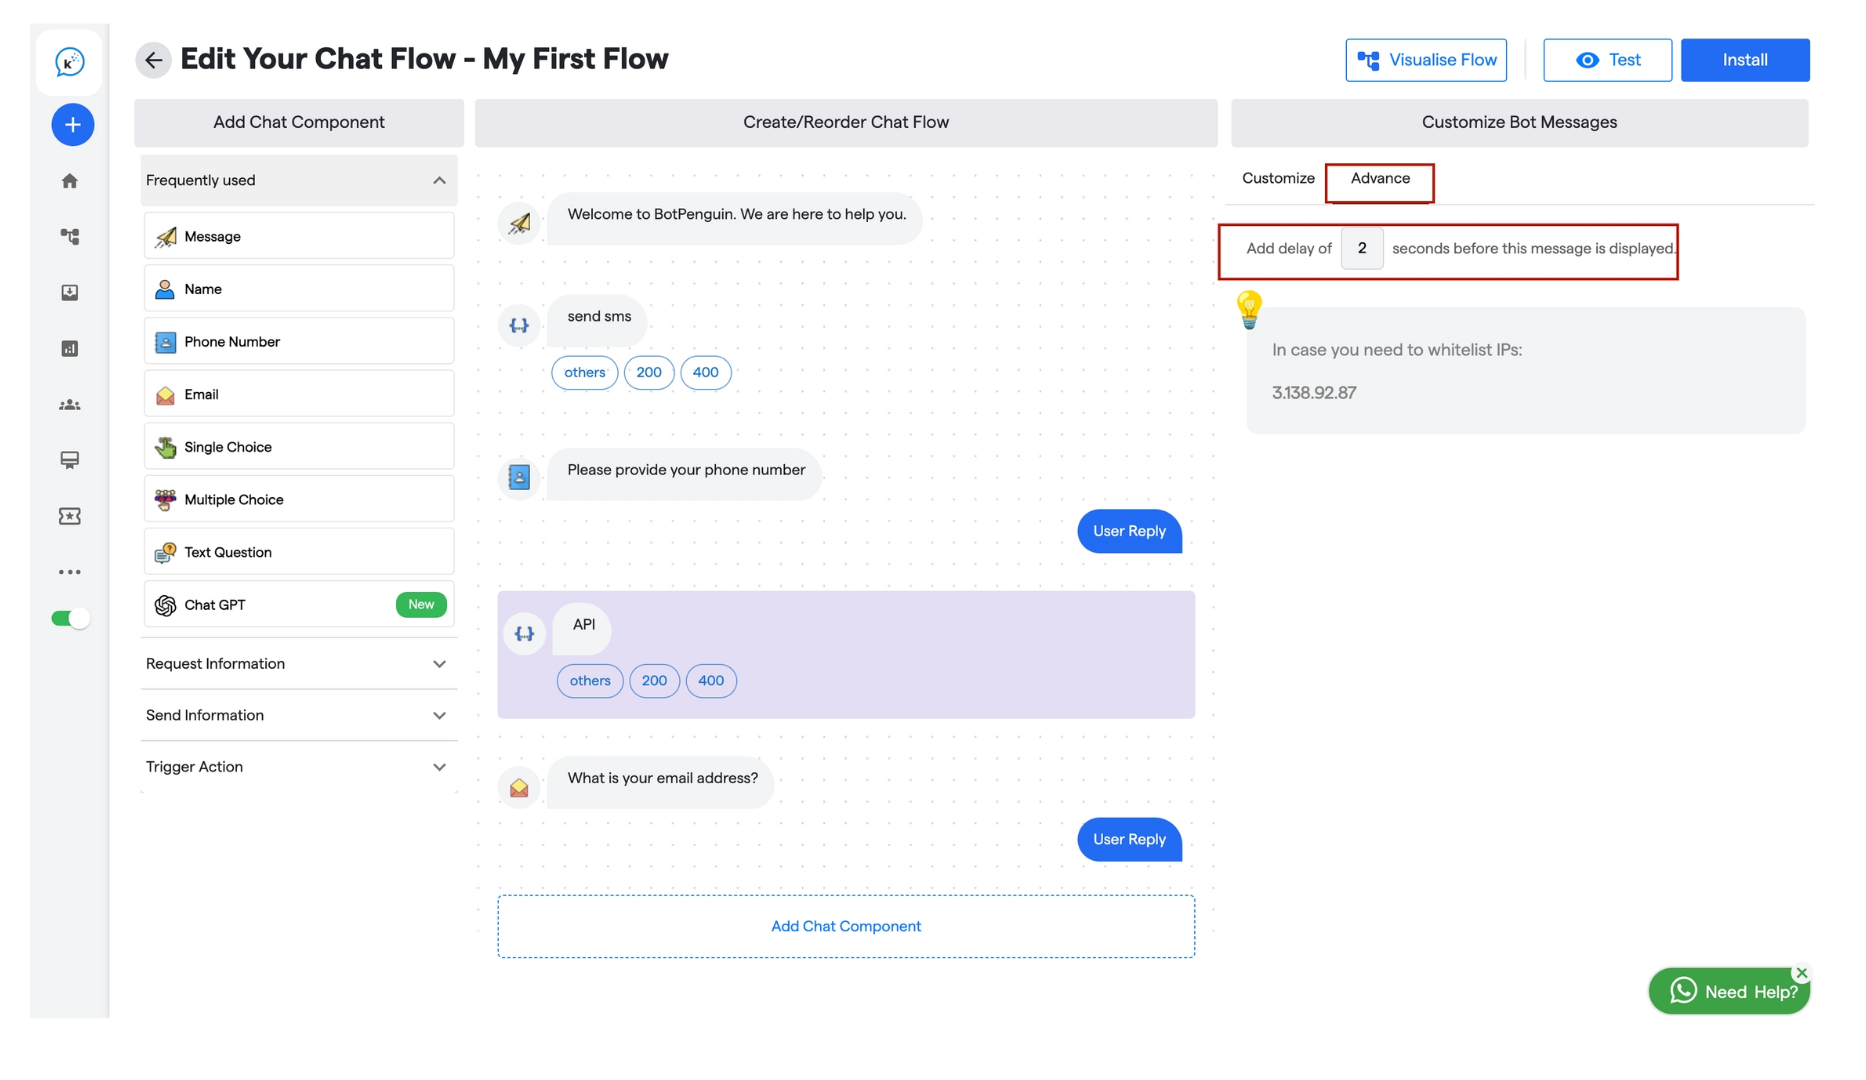
- Configure messages to display whether the OTP was verified successfully or if the user should re-enter it.